Saturday, August 24, 2013

Shaker Boxes

Last month our marquetry club had a Saturday workshop where we made Shaker boxes. This may sound strange for a marquetry club, but the idea was that we could add marquetry to the top of our boxes very nicely, and end up with a very different type of project. I had actually made a set of 3 of these boxes years ago at a Lee Valley seminar, but was anxious to get a refresher and learn new tips and tricks, so that I could make some at home. 

We started out with thin strips of Cherry, one narrow and one wide for the top and body of the box respectively. The first step is to cut the tabs to shape and predrill the holes as you can see here on the top band. You also have to sand the other end of the band to a thinner thickness so that it lays flat when you bend it. 

Next you soak the strips of thin wood in very hot-boiling water for 15 to 20 minutes. Here you can see someone's small band being soaked and the colour that the cherry changes the water! 

You bend the body of the box first. You have a plywood or foam form cut to shape, and you take the piece out of the water and bend it around as quick as you can, and then hold it for a few minutes to let it cool down. This is me holding my box body. 

When your body is done, you repeat the soaking and bending process, but instead of using the form to bend it, you use the body of the box so that the lid fits on perfectly. 

Next we use this cool pipe jig to nail in the tiny copper tacks. They have to be copper so that they bend back on themselves on the inside just like a staple. 

Here I am with the top band around the pipe getting ready to hammer in the last tack. 

And here is the last tack about halfway in. 

Here is my box body with the tabs nailed in place. It is still around the form so that as the wood dries it keeps its shape. 

The next thing to do is to cut a bottom insert to match your body. You then give it a slight angle so that it wedges in nice and tightly. You do the same thing for the top. Making sure to label the parts and how they fit in carefully. 

The final step is to attach the bottom. You carefully drill holes through the side and bottom pieces. You then take round toothpicks with a tiny dab of glue on them and tap them in place. Once the glue is dry you trim them off and sand a little bit. You do this to the top also, but the plan is to do some marquetry on the lid, so it can't be glued in place until that is done. 

Here it is all done except for the marquetry. I'm still working on a design for that so it will be included in an update later. I think I'm going to make some more of these as they are surprisingly quick to make, and a pretty impressive and useful way of giving something with some marquetry on it. As for the special supplies like the tacks, those can be ordered at http://shakerovalbox.com/ where there is also more detailed instructions. There is a whole numbering convention for these type of boxes; the bigger they are the higher the number. It's really cool to think that the shakers have made these types of boxes for 100's of years! 

Monday, July 29, 2013

Marquetry Nameplate


A few months ago my best friend completed her Phd. I wanted to make something to celebrate such an amazing achievement. I decided to put my marquetry skills to work. I started my picking a size and a font for a nameplate. I printed it out to scale and using carbon paper transferred the pattern onto some pretty veneers I had in my box. I cut this project with an exacto knife so I could get all the tiny details. The whole thing measured 2"x 6". To cut the letters You cut the hole in the background, and then use that to cut an exact letter to fit in the hole. It's very precise and slow work, but the result of getting a perfect fit is worth it. 

Here you can see the hole of the N is cut out and awaiting it's filling. You use a ton of tape - both low tack transfer tape, and regular scotch tape to keep everything in place and to avoid losing pieces! 
Here's the lettering complete. It's from the back as the front is covered in tape to hold it all together. 

I added a border with mitered corners to make it more official looking. 

Gluing is the scary part. Everything can go wrong here and ruin all your delicate work. Luckily with careful taping and alignment, this one worked perfectly. It is glued to a 1/2" piece of plywood. I repeated the process with a plain piece of veneer on the back

To finish the piece I glued strips of matching veneers to the sides to make it look like a solid piece of wood. 

Several coats of finish and buffing it with wax bring out the shimmer and colours of the wood. The background is maple and I'm not sure what the redish wood is. 
The nameplate can sit on a desk or shelf, or be hung on a wall.

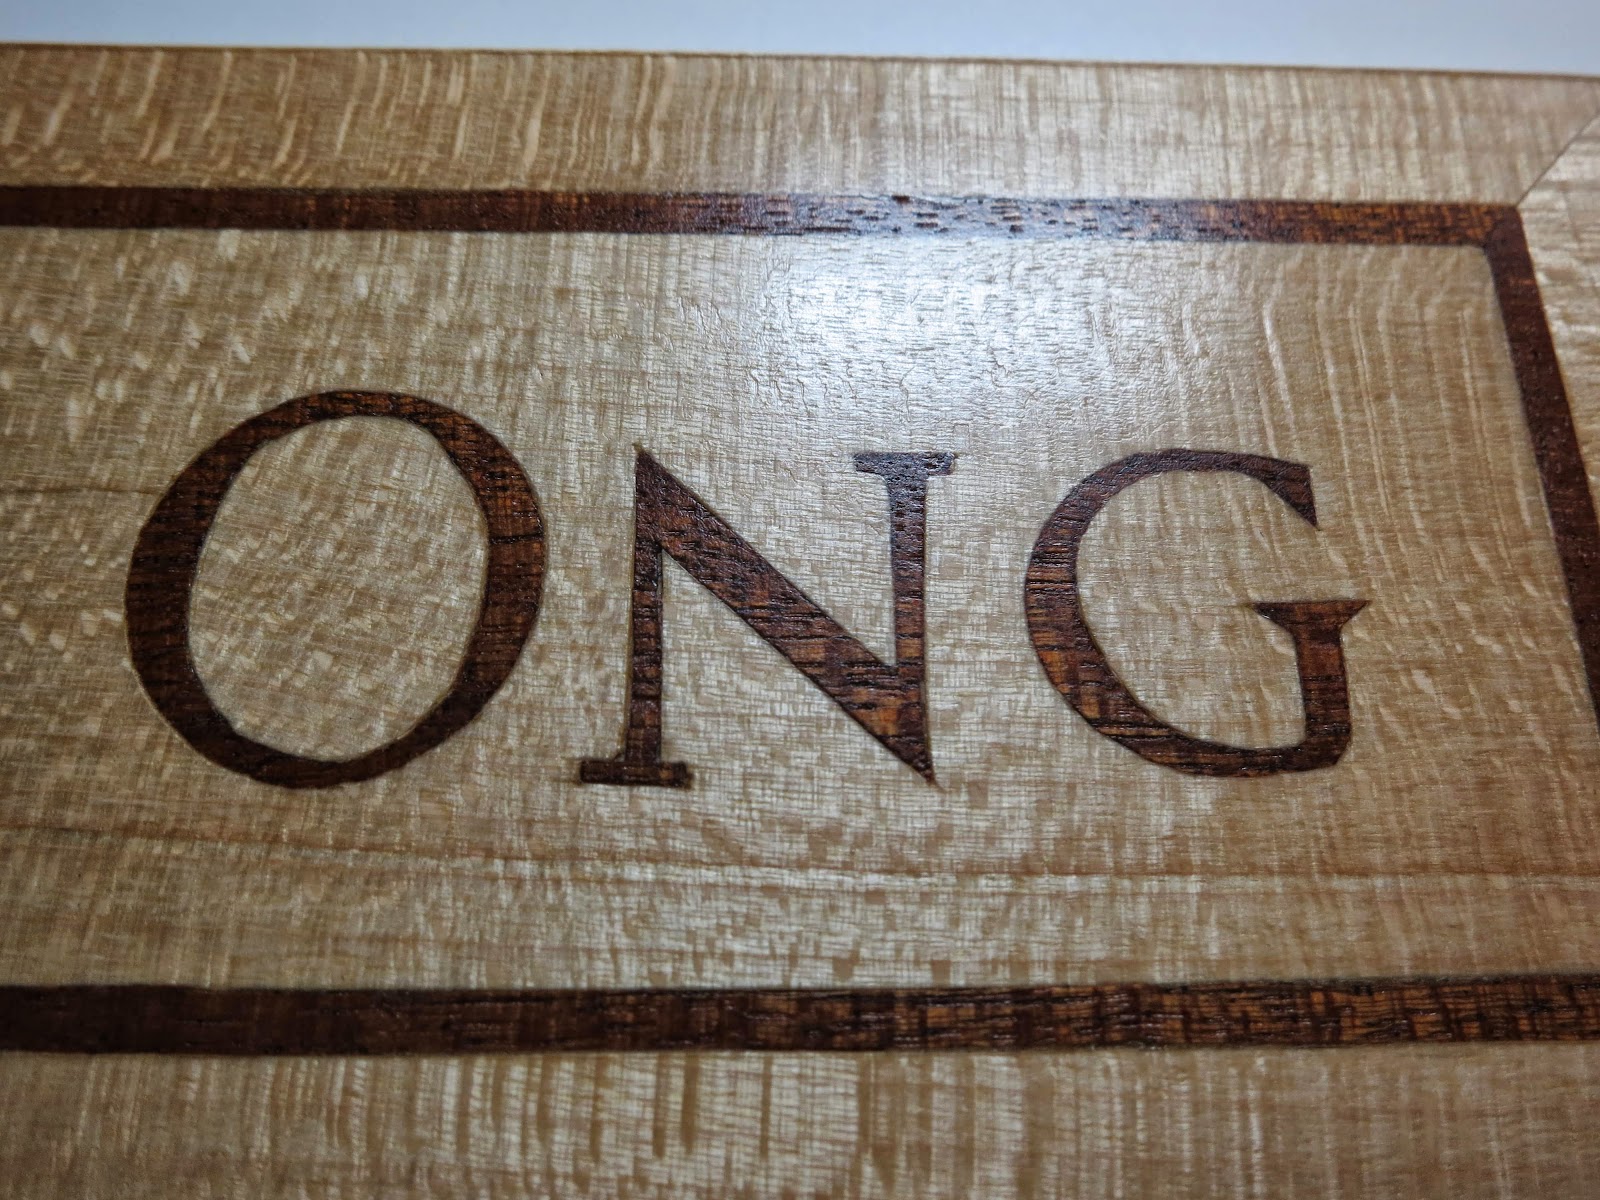
Here's a few detail shots. The letters themselves are 3/4" tall. 

You can really see the cool patterns in the wood in these ones. 

Wednesday, June 26, 2013

Alkaline Trio Laptop Vinyl


At work we do a fair amount of work with vinyl decals. We almost always cut and apply decals to our prototypes instead of silkscreening them. If you've ever seen how vinyl works, you know that there is a lot of waste. Well I always thought it was pretty cool, and asked if I could have any of the scraps that would otherwise be thrown away.


I've done a few small stickers for my sketchbook - like a canadian flag and a lego man, just by hand cutting them out with an exacto knife. I'd been wanting to make something cool for Jerome's new work laptop for a while. There are a ton of awesome  vinyl decals that play on the lit mac logo, and I was looking to do something similar, but different than what I had seen. A few weeks ago he went to an Alkaline Trio concert, and had gotten a sticker to put on his laptop. It turned out to be way to big though, so I came up with an alternative that would give a cool glowing effect. The center skull is on the light and so it glows when the computer is on. And the black vinyl blocks out the rest of the light.  


Thursday, June 6, 2013

Inukshuk Marquetry with Clock


I started this project last summer with the intent of finishing it before our big trip. The design is of an inukshuk perched on a rock. An inukshuk is a stone landmark often used by the Inuit or in arctic areas to mark a spot where there aren't other means. They are very interesting and intriguing and you often see images of them in vast uninhabited areas standing guard. I had thought it would make a nice marquetry piece.


The marquetry part went very quickly - I completed it in a several evenings. Picking the veneers was really fun. I had seen the light background in my stash and it reminded me a bit of the northern lights so I thought it was perfect. 

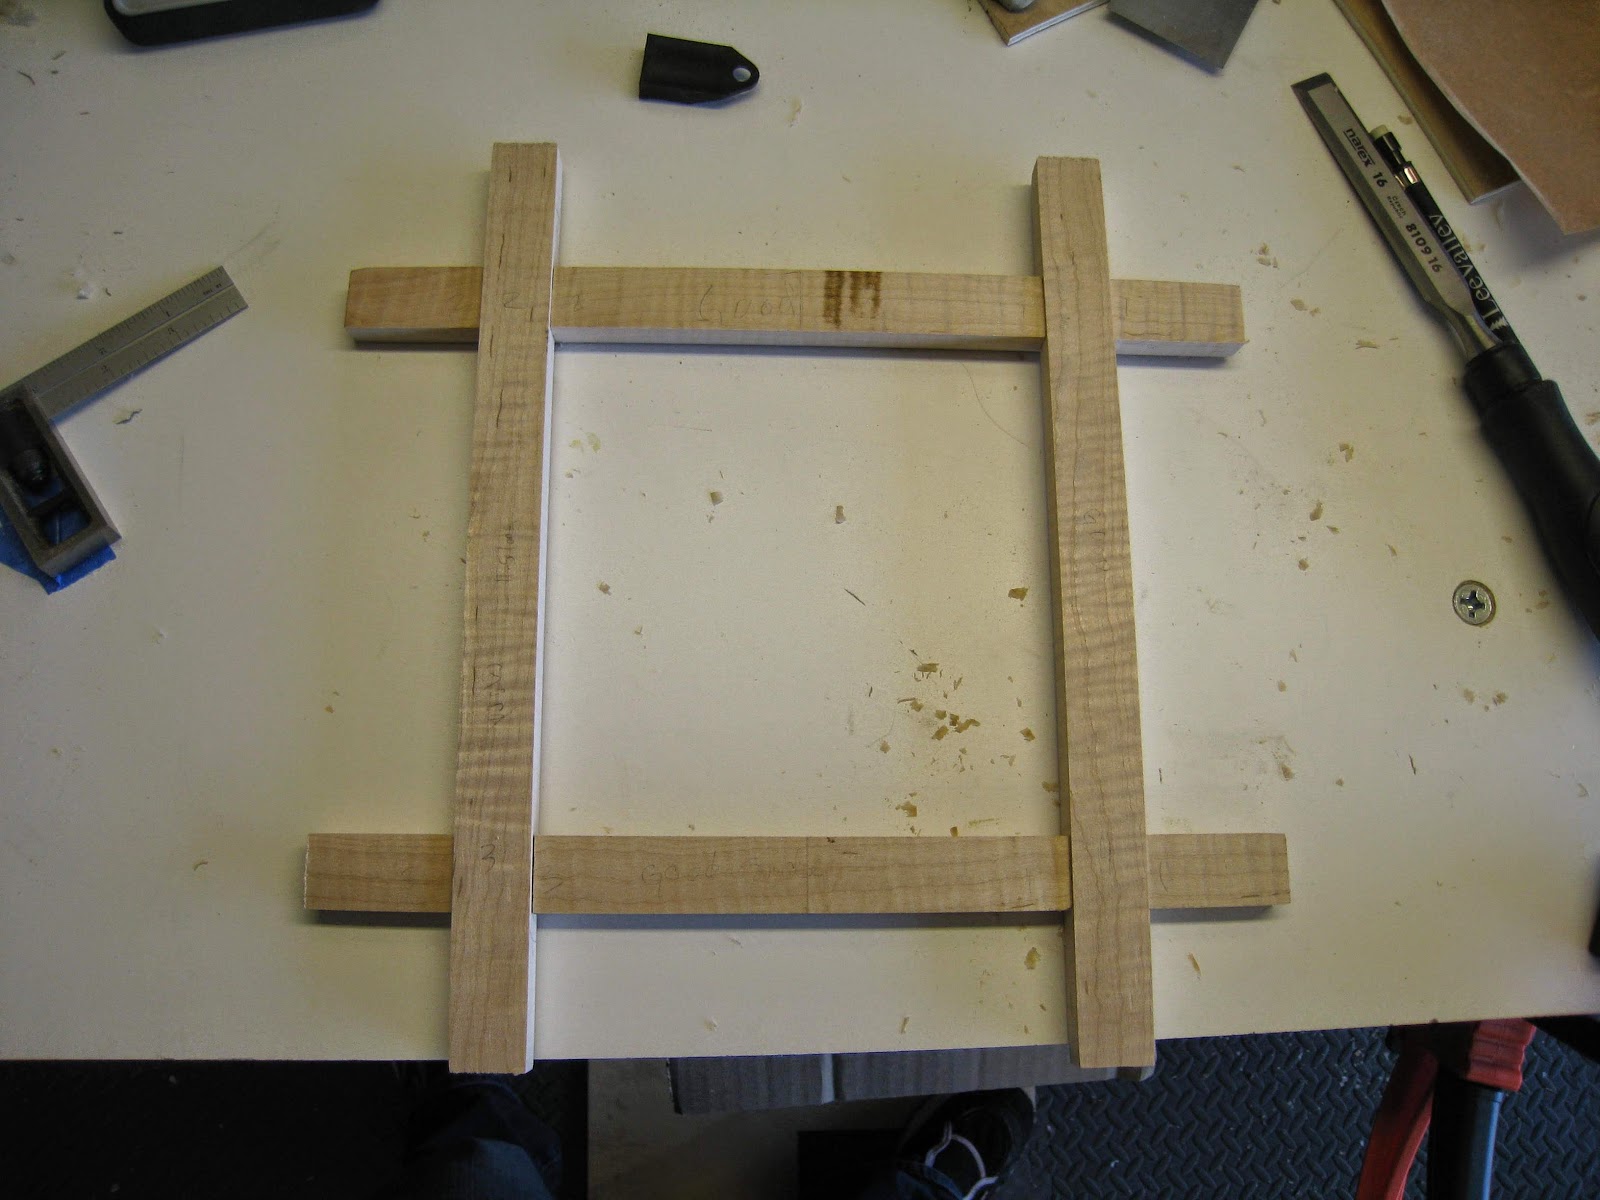
The hard part was the frame I had envisioned for it. I had a very particular idea of what I wanted, but it took a while to sort it out. I don't have a table saw, so I got my friend at work to cut the strips of maple which had a nice ripple effect in it. That was as far as I got before we left. 


When we returned I got back to it, and decided that since I hadn't done a wood project in a while I should do all the joinery by hand. This was pretty fun, but very time consuming. I have a set of mini planes from Lee Valley which were perfect for this, and it was good practice. 


After many hours and lots of patience and finishing an audiobook or two, I got the perfect fit I wanted. The frame pieces each have two recesses to accept the other fram pieces and on the back there is a channel all the way around for the marquetry panel to fit it. I seem to have missed getting a picture of this though. 


Then I glued the marquetry to a 1/4" piece of plywood and drilled the hole for the clock. 


Not one to leave well enough alone, I added a bit of marquetry to the back as well. It may look familiar from my wooden name tag as it should as this was one of two I made to decide what colours I liked better. 


A quick test assembly before putting on the last touches and the finish.


Here it is hanging on the wall all done. You can see I added angles to the corners. You can also see how much the coat of finish brings out the waviness of the wood! 


Here's a detail of the nice tight fit I got on the lap joints. 


And the back with the hang hole and retaining clips. You can see here how the marquetry is inset into the frame.


Even though I'm almost a year later than I wanted to be, I am very happy with how it turned out in the end. I hope it will be enjoyed by it's recipient! 

Tuesday, May 28, 2013

Winter Project Update

So while I seem to be doing not too well on blog posts, I haven't been doing too badly on working on projects. So here is a collection of some of the smaller projects that I've worked on over the winter. I'll be posting full projects of some bigger things in weeks to come. 


I started by re-organizing my shop. I got two sheets of pegboard and got all my tools hung up so that they'd have a place that wasn't always on my work table. I also got a light fixture to put above my worktable so I can actually see what I'm doing when its later in the day. 


Next I made this quick plywood belt and tie hanger for our closet. I got the metal hook from an old plastic store hanger we had. Then I just drill holes and connected them on the bandsaw to create the slots for the belts. Some sanding and clear coat later, we finally have a place for all our belts and ties that makes sense! 


I had a bunch of old files from my great uncle and grandfather that I like to use, but that had no handles. I took the opportunity to practice my turning and made some! I just used plumbing nuts for the metal ferrules - they're inexpensive and do the trick nicely. I used some small pieces of wood I had leftover and even tried burning in lines on the bigger one. Now I use them much more often since they're actually comfortable to hold! 


I found this cute tutorial for fabric labels a few years ago, and finally got around to making some. You print your design on iron on transfers, and then iron it to twill tape that you sew onto your projects. I did a variety of different designs and colours so I will hopefully have something handy for any project I do in the next while. 


Here's one of them stitched onto a baby blanket I made. 


I had a stash of cute flannelette that I got made into little baby blankets and got to try out the sewing labels.  


I also got this amazing stuff called padding compound. Its that weird plastic-y stuff that holds pads of paper together at the top. It's really neat because you can just paint it onto any stack of paper you have and turn it into a note pad! I think it's really fun, Jerome is sure I'm crazy.


 It's a bit hard to see as it dries clear. I've made several custom notepads for lists using both printer paper and index cards. It's really easy to use, you just clamp your paper together - the tighter the better - brush on the stuff and wait a few hours. I have lots of ideas for neat notepads! 


Wednesday, January 23, 2013

Christmas Projects

Before it gets too much farther into the new year, I'd like to share some of the projects I made for Christmas. I didn't get to make much during the fall due to an epic adventure that Jerome and I went on.  But I did get lots of ideas while we were away, so I hope to have more to share soon. 


To begin this is the Lego Photo I made for Christmas this year.

Project 1: Necklace Hanger
A few years ago my mum requested a way to hang up her necklaces so that they wouldn't get all tangled. I measured everything, and made a really rough prototype to figure out the size and stuff. She's been using it ever since, and it was literally falling off the wall, as I hadn't made any of the joints properly. So this Christmas I dug out my notes and made a proper one.


It's made from maple and lacewood, with many Lee Valley hooks along the sides.


There's a dowel hinge so that it can lay against the wall most of the time, but she can swing it out to access all of the necklaces.


Here it is installed which gives a better idea of how it works.


Project 2: Wooden Necktie
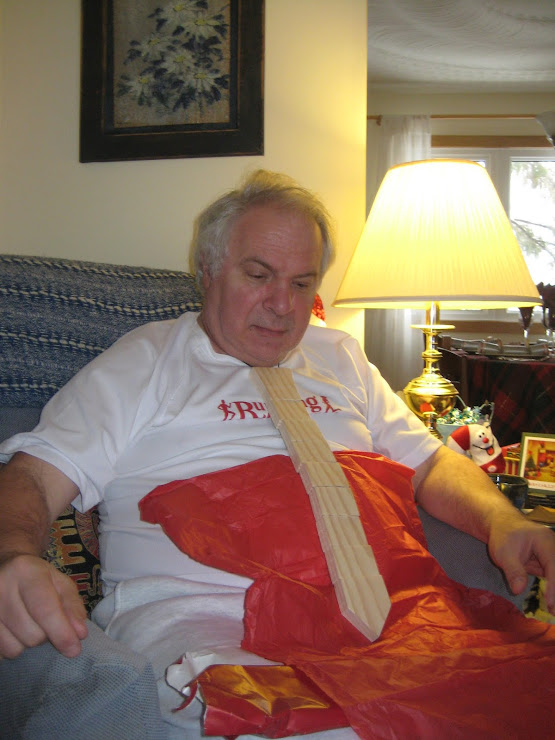
I have seen photos of wooden ties before, and in November one of the woodworking youtube guys I watch did a video on making a wooden tie. I thought it would be fun to try, and so I made a few tweaks to build it with the tools I had. It turned out not too badly and I gave it to my dad for Christmas. I think there are a few things I'd do differently a second time, but that's part of the fun! He hasn't sent me a proper photo of him wearing it with a collared shirt yet, so here he is trying it on Christmas morning!


Project 3: Tiny Wooden Door
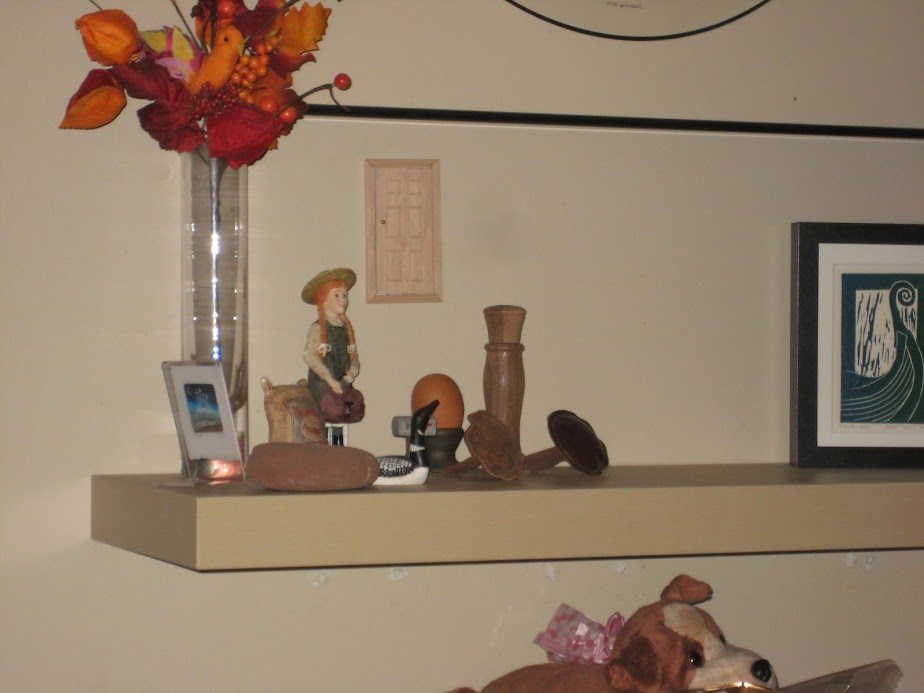
I saw the idea from this randomly online. A crafter installed tiny doors in her apartment to help her kids be less freaked out by the sounds of mice in the walls. She used doll house doors that you can buy and decorated them. I thought it was a fun idea, but didn't really want to buy anything. So I decided to attempt to build one. It was pretty fun making something so small, but a bit challenging. I did manage to get the door to open and close with tiny pins that I inserted. I also carved indents on the front and a peep hole, and installed a door knob made from another pin. The final size was 2"x4" x .1875" thick. I taped a cute picture in the back and on my last day at home, hid it behind some Christmas decorations so that my parents would find it as a surprise when they were putting everything away.


They thought it was pretty cute, and rehung it in another room.