Showing posts with label Sewing. Show all posts

Friday, June 12, 2015

Spring Project Progress

This spring has been a busy one, so I thought I'd share some of the projects I've been working on. 

To begin with, I've been working on growing this little baby who keeps getting bigger and bigger! But in between resting, walking and making sure she's well taken care of, I've been working on some other kinds of projects.

I made Jerome a patch for his backpack

And turned him a pestle for his Chinois for his birthday

I formed 14 new Shaker boxes - I'll do a separate post on that soon, with videos and everything!

I did do marquetry for the top of one of them though - it involved a lot of small pieces and a ton of scotch tape! 

But it turned out pretty well I think

I turned this Couronne Stick which is used in knitting somehow.. It was a present for my Mum, so I guess I'll see the results sometime soon! 

I started a project to combine marquetry and turning, with the intent to bend and glue the strip around the tealight holder. There were some wrinkles in the process, so it's not done quite yet. 

I made this pair of matching photo frames for the Grandma's to be. 

Then I went home to Ottawa for a few weeks, where we did lots of walking and more projects. We even saved this teeny tiny turtle from being run over by bicycles! 

Mum and I made some baby blankets and clothes - under close supervision of Rupert and Baxter

We experimented dying and painting some onesies

My mum gave us this awesome I-spy quilt she made for the baby with all sorts of fun animals and pictures to find and teach the baby with! 

I got to visit with Jerome's parents, and my Grandma, and lots of friends who threw surprise baby showers! I somehow didn't get any pictures of those though! 

Sunday, March 22, 2015

Winter Project Progess

Over the past few months, I've been kicking it into a bit higher gear in terms of working on projects. Trying to get a lot of partially finished projects completed, as well as get some news ones underway and done. I thought I'd just post some recap pictures of some of the things I've done since Christmas instead of trying to do a bunch of posts more in depth. I hope you enjoy! 

First up was doing the marquetry for the top of the shaker box I made several years ago. I'd been trying to decide between a few patterns and so not getting anywhere, so I eventually just picked this one. It's Link and Epona from Zelda. And I couldn't resist hiding a little Triforce as a surprise under the lid. This is the box with the cut marquetry before assembly and finishing. 

Here is the top of the box completed with finish.

And here's the underside of the lid. 

I hadn't turned anything in about a year, and wanted a simple project to wet my feet again. I decided to go for a doorstop as the front door kept slamming in the wind. I figured any mistakes wouldn't be noticed at all! I chose a random piece of wood from my stash, I have no idea what it is, but the grain and colour are quite beautiful. 

I also spent a bunch of time making a new "tower" of giraffes. (apparently that's what a group of them are called!) The fabric I used to get is discontinued, so I tried three new ones this time. They're all quite cute. 

I've been watching quite a few YouTube woodworkers, and I'd seen a few recently making Jointer's Mallets, which are big beefy all wood mallets that you use for chiseling or persuading joints to fit together. I figured I'd try one out, as using a tool you've made is always very satisfying! 

A better view of the nice wood grain - also from the mystery pile! 

I had this marquetry cut already from the Turned Tealight project I did. This was the inverse of the image. It seemed to nice to toss, so I'd kept it, and when I came across it, I figured I'd might as well turn it into a small wall picture. 

In case you're wondering about the sudden incentive to get my butt in gear, we are expecting a baby in August, so I figure I'd better get as many projects as I can done now, before I get too big, and then later, have my hands quite full with a new big project!! 

Tuesday, May 28, 2013

Winter Project Update

So while I seem to be doing not too well on blog posts, I haven't been doing too badly on working on projects. So here is a collection of some of the smaller projects that I've worked on over the winter. I'll be posting full projects of some bigger things in weeks to come. 


I started by re-organizing my shop. I got two sheets of pegboard and got all my tools hung up so that they'd have a place that wasn't always on my work table. I also got a light fixture to put above my worktable so I can actually see what I'm doing when its later in the day. 


Next I made this quick plywood belt and tie hanger for our closet. I got the metal hook from an old plastic store hanger we had. Then I just drill holes and connected them on the bandsaw to create the slots for the belts. Some sanding and clear coat later, we finally have a place for all our belts and ties that makes sense! 


I had a bunch of old files from my great uncle and grandfather that I like to use, but that had no handles. I took the opportunity to practice my turning and made some! I just used plumbing nuts for the metal ferrules - they're inexpensive and do the trick nicely. I used some small pieces of wood I had leftover and even tried burning in lines on the bigger one. Now I use them much more often since they're actually comfortable to hold! 


I found this cute tutorial for fabric labels a few years ago, and finally got around to making some. You print your design on iron on transfers, and then iron it to twill tape that you sew onto your projects. I did a variety of different designs and colours so I will hopefully have something handy for any project I do in the next while. 


Here's one of them stitched onto a baby blanket I made. 


I had a stash of cute flannelette that I got made into little baby blankets and got to try out the sewing labels.  


I also got this amazing stuff called padding compound. Its that weird plastic-y stuff that holds pads of paper together at the top. It's really neat because you can just paint it onto any stack of paper you have and turn it into a note pad! I think it's really fun, Jerome is sure I'm crazy.


 It's a bit hard to see as it dries clear. I've made several custom notepads for lists using both printer paper and index cards. It's really easy to use, you just clamp your paper together - the tighter the better - brush on the stuff and wait a few hours. I have lots of ideas for neat notepads! 


Wednesday, April 18, 2012

Bird Note/Photo Holders

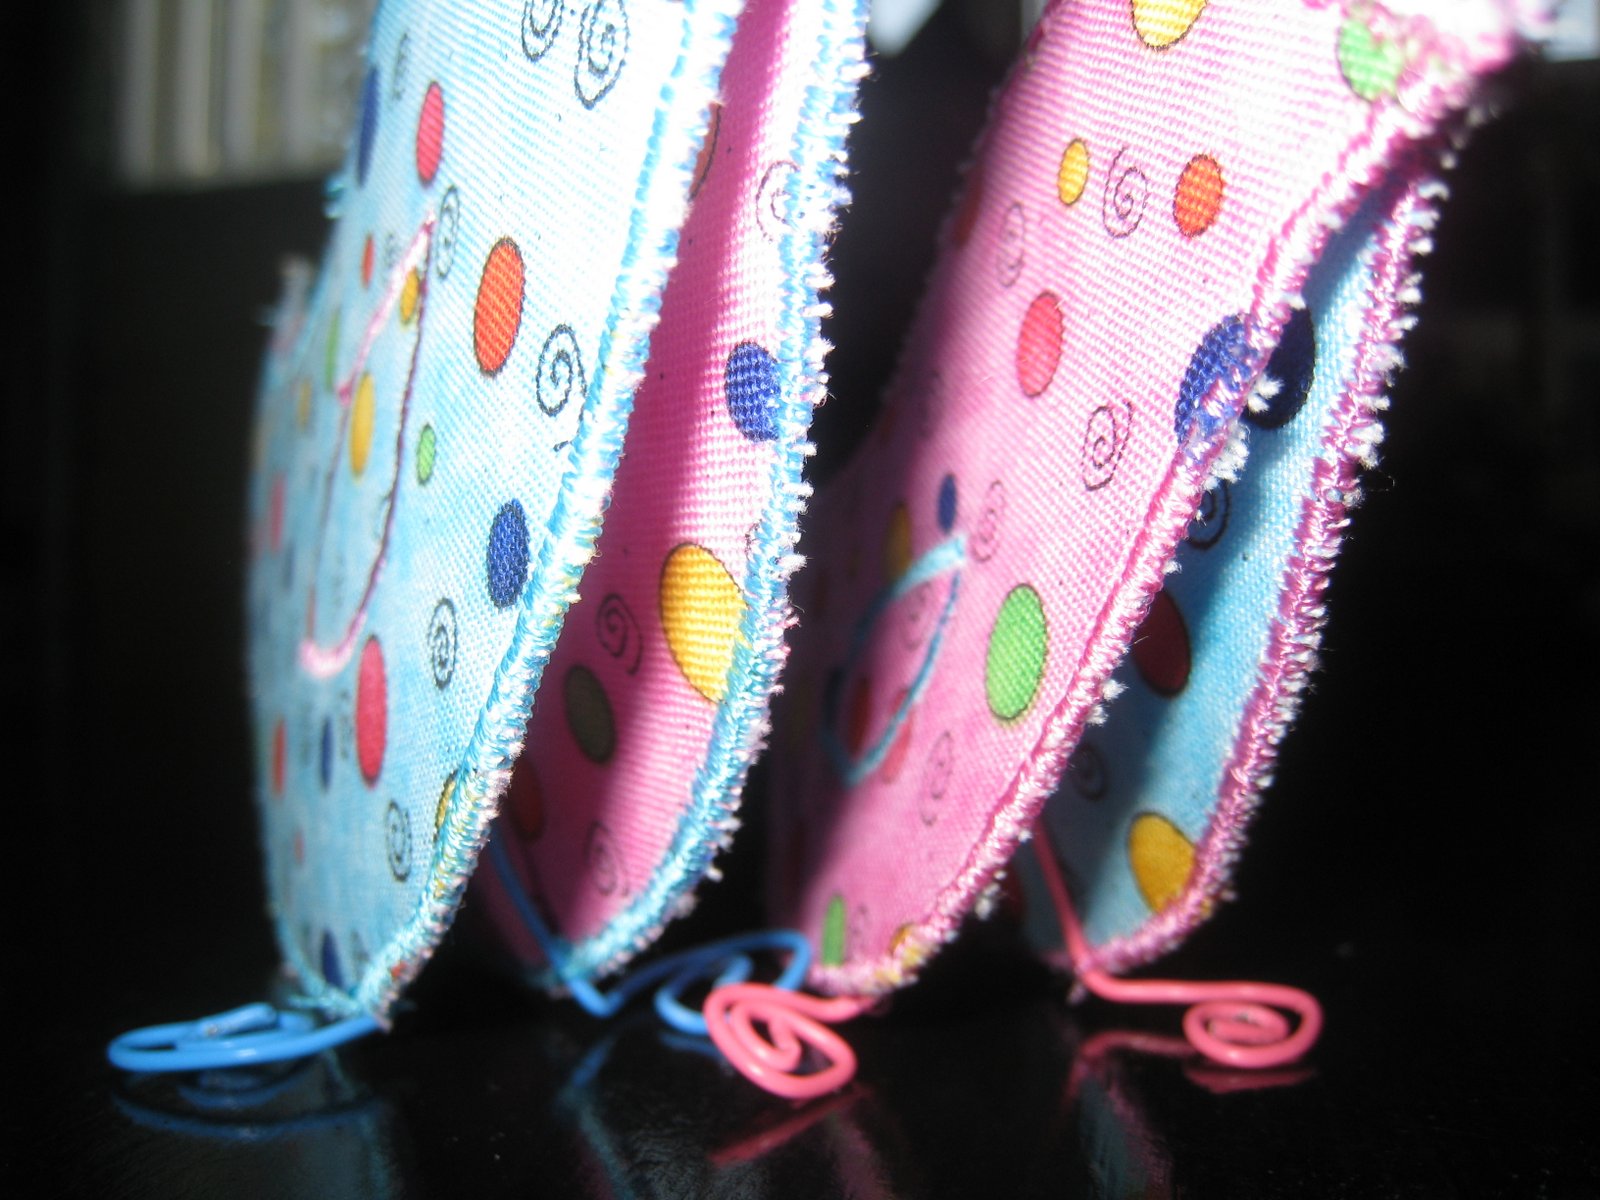
These are the first of the projects that I was working on in February as they've arrived to their new owners now. They are a pair of cute little bird note/photo holders. I got the pattern from a recent issue of Stitch Magazine. It's actually my favourite sewing magazine. It has the right combination of fun and useful projects, with full patterns and great instructions and lots of tips and stuff. I'd recommend it highly if you're looking for something different. They come out quarterly and you can get them at bookstores or Joann's - especially good if you wait for a coupon!


I made these for my Mum who's developed a liking for little sewn birdies recently. So when I saw the pattern, I thought of making them right away.


This is the small one. The feet and head swirl are made from those coated paperclips.


I had some neat fabric in two colours that I thought would make a really cute pair.


You're supposed to be able to put photos or notes in the top swirl.
Hopefully my hand stitching will stand up to the test! 


There was a big and a small one, so I tried one of each.


I also lined them with the opposite fabrics to give a nice surprise if you see into them!

Friday, February 3, 2012

Giraffe Stuffed Toys

I love these stuffed giraffes! I've made a total of 6 of them now, and I still love them! Pretty much the hardest part is finding fuzzy giraffe print fabric. The patterns are from Carol's Zoo who makes a whole bunch of easy patterns for various animals. I've also made the penguin, and have the pattern for several others, but haven't gotten to them yet. You can check them all out here: http://www.carolszoo.com/patterns/index.htm.


The last pair I made were especially cute as I found red and blue giraffe print which was perfect as I had a friend and cousin who were both having babies, one boy one girl! For these ones, I simple took a few tight stitches for the eyes so there would be no risk of choking or anything.


This was the original set that I made, I started with one but couldn't stop. They worked out nicely as the print I found was more to scale for the size. I've only made the "Baby" giraffe, but he sits about 12" tall, so he doesn't seem too small. The pattern also comes with a "Mama" version. These ones I bought plastic safety lock eyes in different colours to finish them off since I was giving them to more grown up types.


The patterns are really straight forward and simple to follow. Only two pattern pieces. The sewing is pretty easy. The only trick I've found is to pin alot! Maybe this was just necessary as my fabrics were a bit stretchy. But I found if I took the extra few minutes to pin the heck out of them, then sewing took a fraction of the time. They look kind of funny all pinned up too! Anyways, if you're looking for a cute, easy, fun stuffed animal project, these are a fun place to start! 

Wednesday, January 25, 2012

E-book Reader Cover

A while ago we got an E-Reader and I've been wanting to bring it to work to read at lunch, but have been hesitant without some sort of case to protect it. We could have bought one, but of course I thought making one would be better, and more fun. Here's how it went!


This is my design/pattern/notes and instructions that I made up.
Very high tech as you can see!

   
I've been on a stripey fabric kick lately, so I picked one of my favourites and a complementary fabric to make the cover. 

I decided to use an elastic to keep it closed - like a Moleskine. 
   
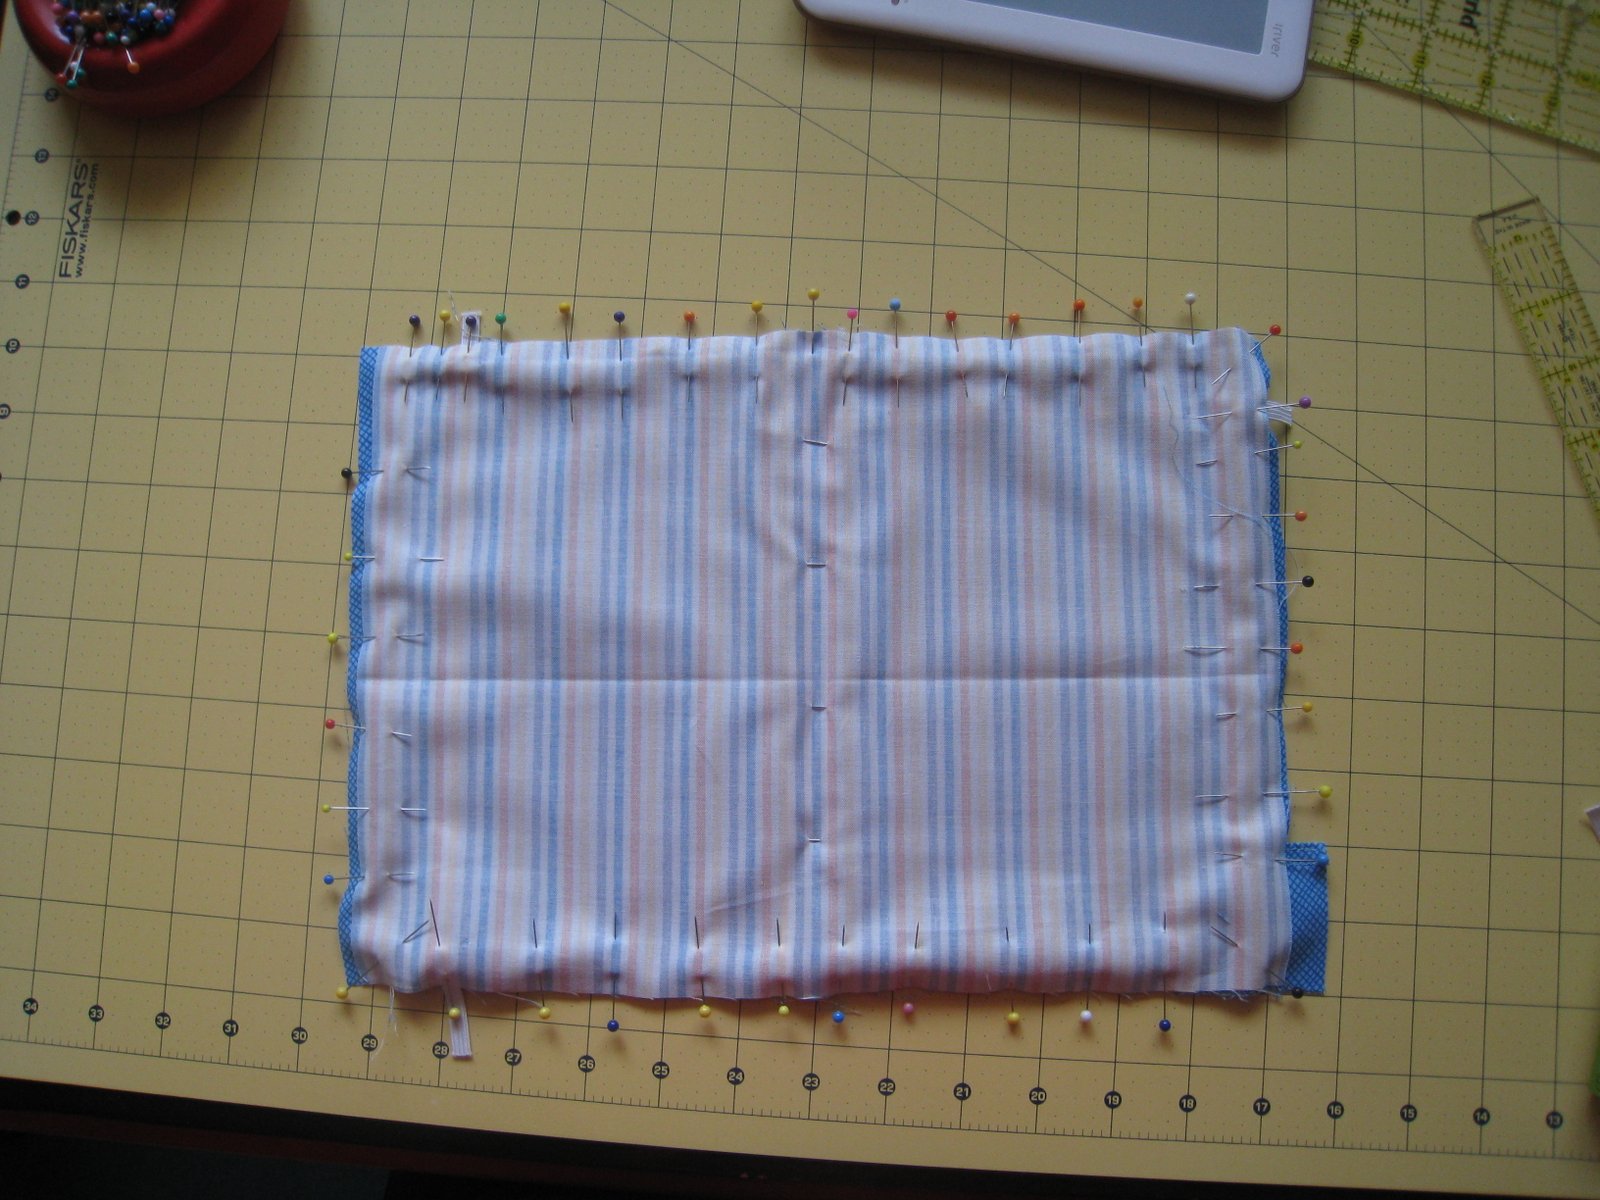
An after several attempts and much figuring out, I got all the layers and elastic pinned together inside out.

I made the inside in two halves with another strip of fabric in the middle so that I could slip in some hardboard and padding to protect the Reader. Once the layers were all cut to size and inserted, I sewed it in place which secured everything, as well as closed the pocket and the elastic to hold down the Reader. 

And here is the finished product!!

I was pretty happy with how it turned out considering I didn't have a real pattern or anything to go off of. 

Now I just have to get some E-books...