Showing posts with label design. Show all posts

Monday, July 29, 2013

Marquetry Nameplate


A few months ago my best friend completed her Phd. I wanted to make something to celebrate such an amazing achievement. I decided to put my marquetry skills to work. I started my picking a size and a font for a nameplate. I printed it out to scale and using carbon paper transferred the pattern onto some pretty veneers I had in my box. I cut this project with an exacto knife so I could get all the tiny details. The whole thing measured 2"x 6". To cut the letters You cut the hole in the background, and then use that to cut an exact letter to fit in the hole. It's very precise and slow work, but the result of getting a perfect fit is worth it. 

Here you can see the hole of the N is cut out and awaiting it's filling. You use a ton of tape - both low tack transfer tape, and regular scotch tape to keep everything in place and to avoid losing pieces! 

Here's the lettering complete. It's from the back as the front is covered in tape to hold it all together. 

I added a border with mitered corners to make it more official looking. 

Gluing is the scary part. Everything can go wrong here and ruin all your delicate work. Luckily with careful taping and alignment, this one worked perfectly. It is glued to a 1/2" piece of plywood. I repeated the process with a plain piece of veneer on the back

To finish the piece I glued strips of matching veneers to the sides to make it look like a solid piece of wood. 

Several coats of finish and buffing it with wax bring out the shimmer and colours of the wood. The background is maple and I'm not sure what the redish wood is. 
The nameplate can sit on a desk or shelf, or be hung on a wall.

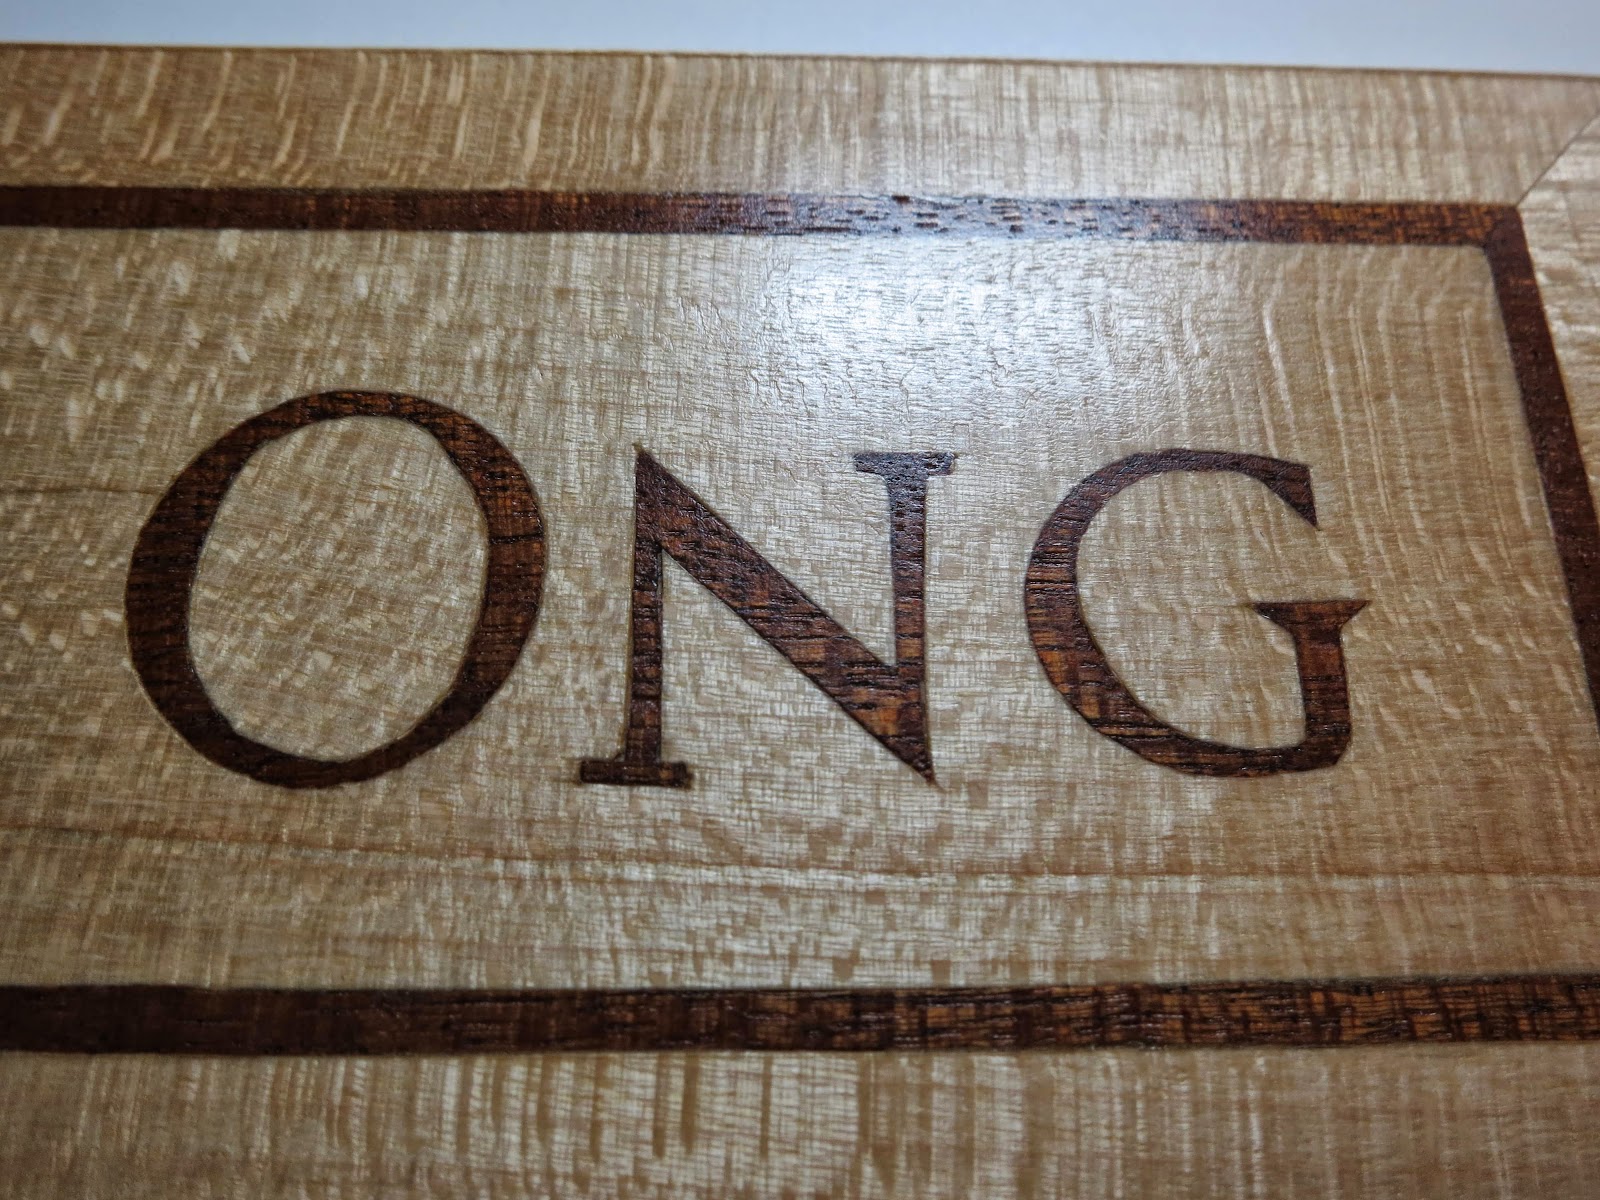
Here's a few detail shots. The letters themselves are 3/4" tall. 

You can really see the cool patterns in the wood in these ones. 

Thursday, June 6, 2013

Inukshuk Marquetry with Clock


I started this project last summer with the intent of finishing it before our big trip. The design is of an inukshuk perched on a rock. An inukshuk is a stone landmark often used by the Inuit or in arctic areas to mark a spot where there aren't other means. They are very interesting and intriguing and you often see images of them in vast uninhabited areas standing guard. I had thought it would make a nice marquetry piece.


The marquetry part went very quickly - I completed it in a several evenings. Picking the veneers was really fun. I had seen the light background in my stash and it reminded me a bit of the northern lights so I thought it was perfect. 

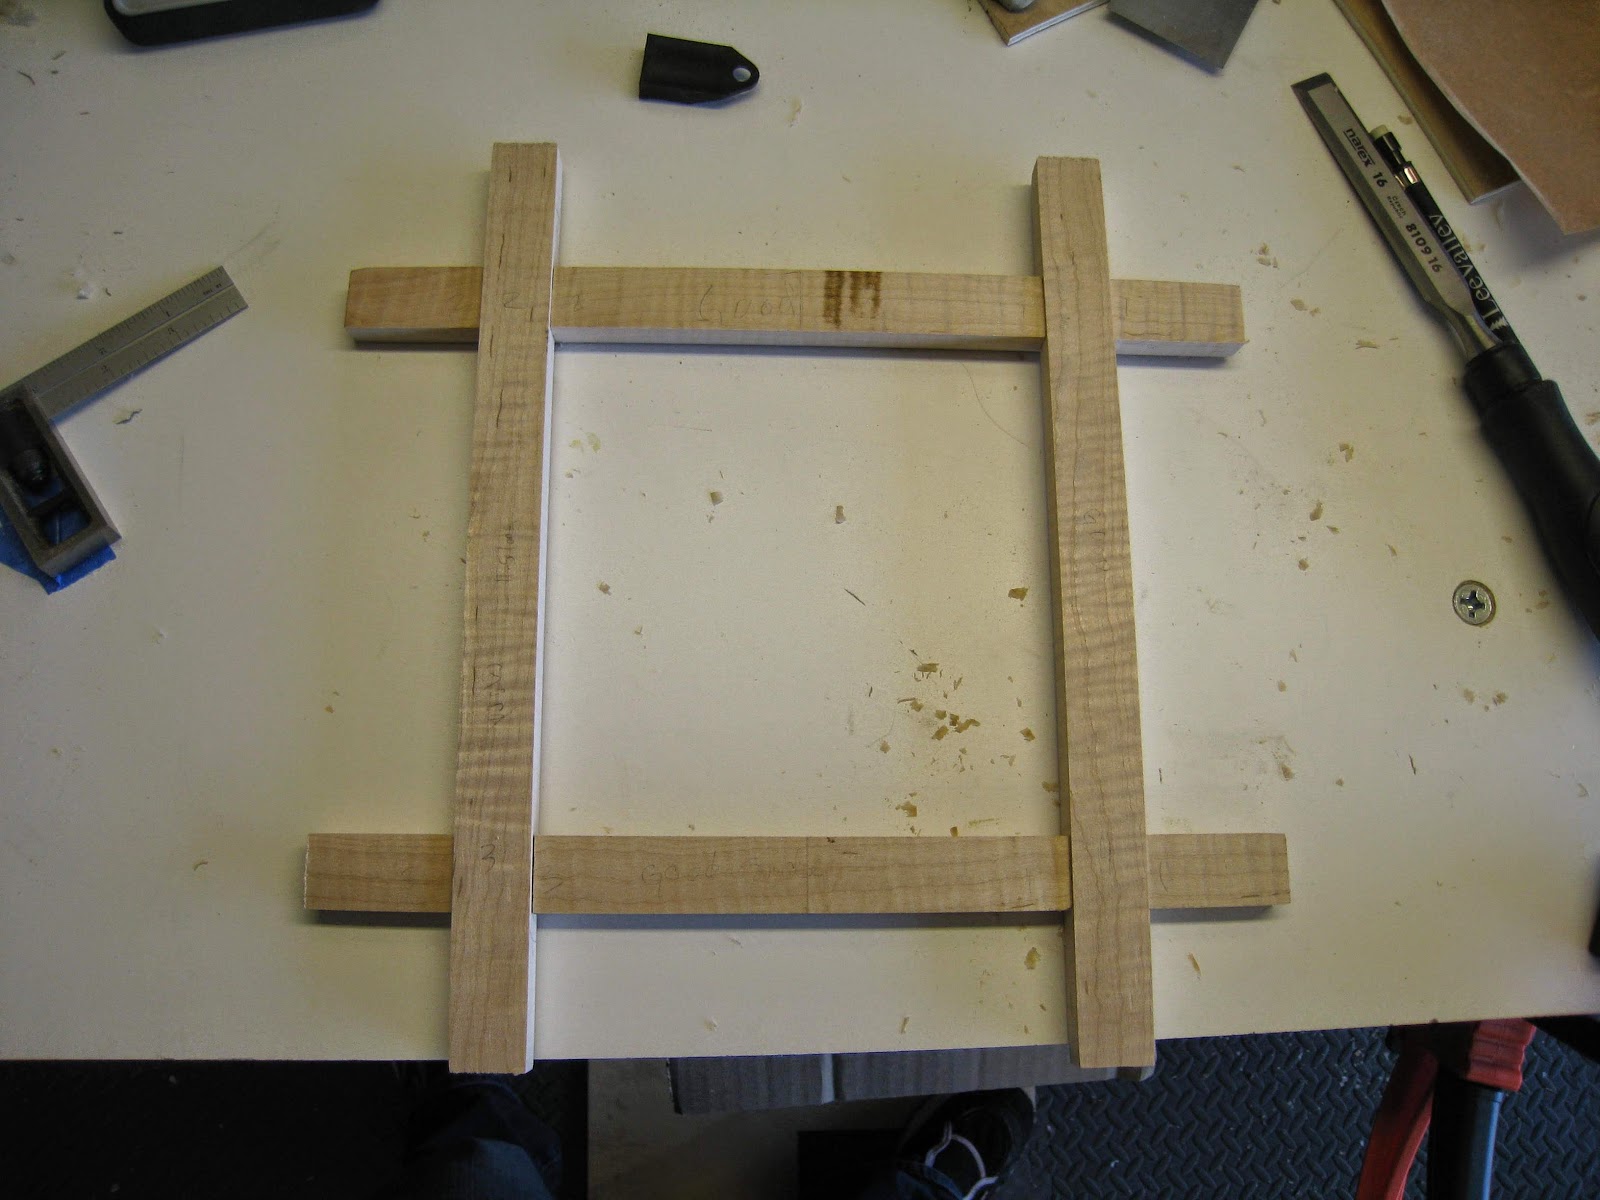
The hard part was the frame I had envisioned for it. I had a very particular idea of what I wanted, but it took a while to sort it out. I don't have a table saw, so I got my friend at work to cut the strips of maple which had a nice ripple effect in it. That was as far as I got before we left. 


When we returned I got back to it, and decided that since I hadn't done a wood project in a while I should do all the joinery by hand. This was pretty fun, but very time consuming. I have a set of mini planes from Lee Valley which were perfect for this, and it was good practice. 


After many hours and lots of patience and finishing an audiobook or two, I got the perfect fit I wanted. The frame pieces each have two recesses to accept the other fram pieces and on the back there is a channel all the way around for the marquetry panel to fit it. I seem to have missed getting a picture of this though. 


Then I glued the marquetry to a 1/4" piece of plywood and drilled the hole for the clock. 


Not one to leave well enough alone, I added a bit of marquetry to the back as well. It may look familiar from my wooden name tag as it should as this was one of two I made to decide what colours I liked better. 


A quick test assembly before putting on the last touches and the finish.


Here it is hanging on the wall all done. You can see I added angles to the corners. You can also see how much the coat of finish brings out the waviness of the wood! 


Here's a detail of the nice tight fit I got on the lap joints. 


And the back with the hang hole and retaining clips. You can see here how the marquetry is inset into the frame.


Even though I'm almost a year later than I wanted to be, I am very happy with how it turned out in the end. I hope it will be enjoyed by it's recipient! 

Monday, March 19, 2012

Leather Jack!

Well I've been rather absent in posting, but that's because I've been making stuff! I had a goal to complete 4 projects in February and I did. Several of those items are gifts and will make their debut once they've been delivered to their recipients!

At Halloween I posted the paper Jack from The Nightmare Before Christmas that I'd made, and how I'd really wanted to make him out of leather to get the textures and depth. Well since I first had that idea over a year ago, I enlisted my Mum to keep her eye out for some white leather, which I wasn't having any luck with. Low and behold for Christmas there was a nice big piece in my stocking! So I dug out my pattern and got to it!


He looks much more like I had envisioned now. 

You can see the textures, and the depth of the layers coming out of the frame.  

The leather stitching also looks a lot better than the string had. 

Wednesday, January 25, 2012

E-book Reader Cover

A while ago we got an E-Reader and I've been wanting to bring it to work to read at lunch, but have been hesitant without some sort of case to protect it. We could have bought one, but of course I thought making one would be better, and more fun. Here's how it went!


This is my design/pattern/notes and instructions that I made up.
Very high tech as you can see!

   
I've been on a stripey fabric kick lately, so I picked one of my favourites and a complementary fabric to make the cover. 

I decided to use an elastic to keep it closed - like a Moleskine. 
   
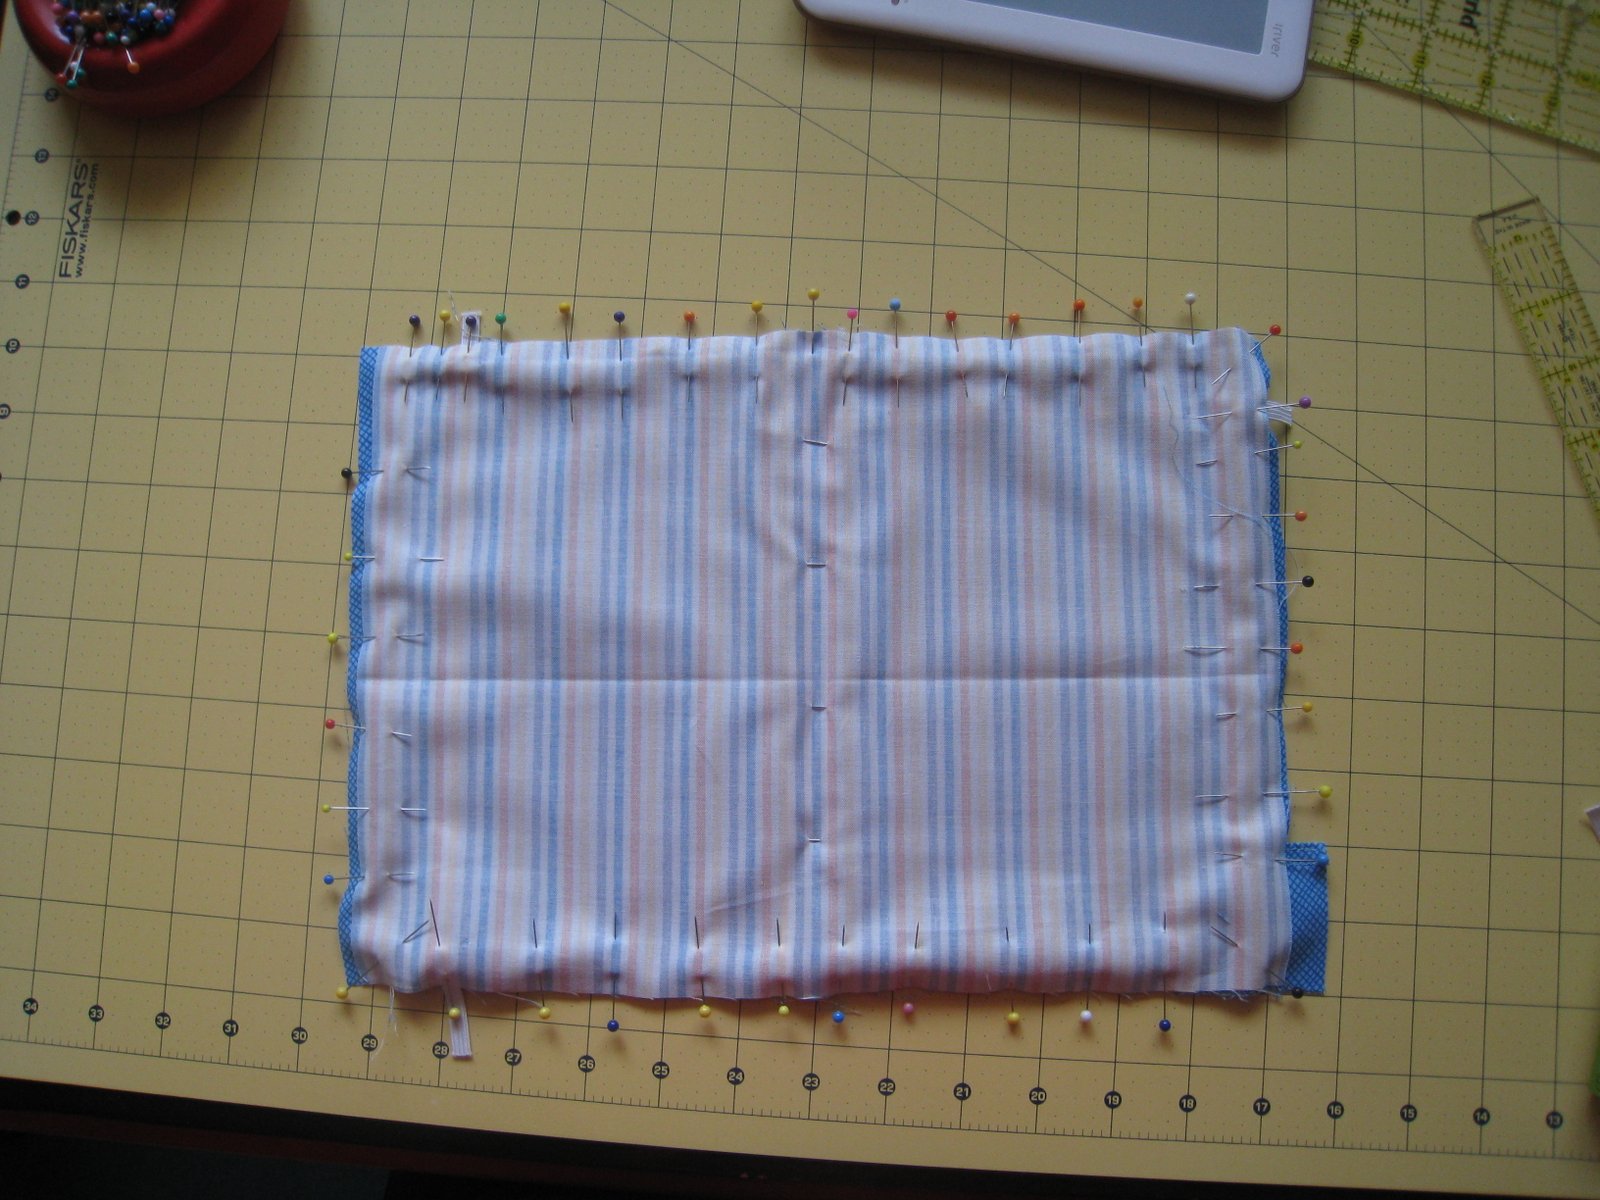
An after several attempts and much figuring out, I got all the layers and elastic pinned together inside out.

I made the inside in two halves with another strip of fabric in the middle so that I could slip in some hardboard and padding to protect the Reader. Once the layers were all cut to size and inserted, I sewed it in place which secured everything, as well as closed the pocket and the elastic to hold down the Reader. 

And here is the finished product!!

I was pretty happy with how it turned out considering I didn't have a real pattern or anything to go off of. 

Now I just have to get some E-books...

Monday, October 31, 2011

Happy Halloween

One of Jerome's favourite movies is The Nightmare Before Christmas. So last year I made him this paper rendition of Jack the skeleton. Complete with string mouth. My original vision was to do it out of leather and stitch it all, but white leather is annoyingly hard to find. Someday I will find some though, and he will be made again! 
Happy Halloween!  

Friday, July 29, 2011

Zelda Marquetry

So I've been working on this project since February, but I've been a bit stuck with finishing it, so I'm hoping by talking about what I've done so far, it'll be easier to get the last steps done. Originally I was just going to make a simple lap table to stop my legs from getting burnt when I used my computer on the couch, which I did often not having a desk. I figured it was a good place to practice some of the techniques I learned in the marquetry class several years ago, and get to crack open my box of veneers! Since then I've gotten a desk and don't really need a lap table anymore, and so I think for now it's simply going to become wall art, as I am pretty happy with how the marketry turned out. I wanted something fun, but not to complicated for my rusty skills. One of the first things Jerome and I came up with was the Triforce, but that seemed a bit too simple, so after some image searches online, I decided to attempt the Hyrule crest from Zelda. 

After picking my veneers - walnut and flame birch (I think). I traced out a version of the crest that I had adapted in Illustrator from a picture I found on the web of the Hyrule Shield. It's traced onto freezer paper which is translucent enough to see through. I then centered it and taped the side so I could flip back and forth as I needed it. I had some graphite paper from Lee Valley that I used to transfer the image. It was really nice to work with since it didn't come off on my hands, but it didn't erase easily from the wood once I was done. 

I attempted to make a jig to saw out the pattern, but after several attempts, I gave up on that, and dug out my sharpest exacto knife and carefully hand cut the parts. Which is a legitimate technique, just not the one I was intending to practice - oh well! So this whole principle works by cutting both pieces of wood at once so that the hole and the insert are identical. This is nice as if you wobble a bit on a part, it isn't very obvious, since they'll wobble in perfect unison! I also had to pay attention to the grain and flame direction, so that all the pieces have the same flame direction and don't look wonky. 

Here it is part way done. I went through a lot of Magic tape! But it's important as you want to get the insert in the opening as perfectly as possible. I also ensured that the tape covered all seems so that once I glued it to the backer piece, no glue would seep through and mar the front. 

Here it is all cut out and taped to an inch of it's life. The veneer is really thin - 1mm or thereabouts. So it's pretty delicate when you're trying to move it around. You can see my alignment marks in case my pattern slipped which took a long time to get rid of. The background veneer is a bit wavy which worried me a bit and is oversized at this point to help make gluing it all up easier. 

Here it is glued to the board with the tape gone. This was the first time I got to really see how it looked. I forgot to take a picture of the glue set up. It involved a lot of wood glue, all the clamps I have here, and a giant pile of  everything heavy I could find in my shop on the middle of the board, all with the hope and intent of not getting any air bubbles, waves or ripples in the end. Which thankfully worked! The book-matched walnut worked really well, it adds to the symmetry of the design, and the center seam ended up invisible which was what I was going for! 

Once that was glued for a month or so, I managed to finally sand all the marks of and get it nice and smooth. After some debate about how to finish it a few weekends ago I gave it a few coats of tung oil, then let it sit until last weekend when I gave it two coats of beeswax. This finish combination gives it a nice golden shimmery tone which suits the design well. 

Now for the trickier part. I want to put a frame around it so I can put it on the wall. But I have no table or miter saw... so it's going to be interesting. I had some nice maple which I cut into strips last weekend and hand-planed as straight and true as I could. Then routered a rabbet to set the main part into. But i'm not really sure how I'm going to get nice crisp perfect corners with only a band saw. So feel free to give me any tips, tricks, thoughts, etc and wish me luck this weekend as I try and finally add this project to my completed list!

Friday, June 17, 2011

Mario and Princess Pillows

A year and two weeks ago some good friends of ours got married. At the time I had a bit of free time on my hands so I wanted to come up with something fun to make them for a gift. They are both Mario fans, to the point where the cake topper at the wedding was Mario and Princess, so I decided to stick with this theme and design a pair of pillows.

I found some small images online and messed around with them until I was happy with the size, layout and breakdown of the colours.

I then took my pattern pieces and traced them onto fusible interfacing.

I had some neat batik fabric that suited the cartoonish style, and I luckily found the remaining colours in a similar pattern at a local fabric store. I then started fusing the interfacing to the back of each piece. 

Here they are all fused together on the background

Next came the painstaking process of  slowly and carefully zigzag stitching all around everything.  

This was by far the most time consuming  and scary part, but it was worth it though, it makes it pop so much more!

They make quite a cute couple, especially with the checkered border.

Here's is Mario complete with piping!

And Peach!

They can look adoringly at each other from opposite ends of the couch. 

Or cuddle up next to each other!