Showing posts with label kit. Show all posts

Sunday, May 6, 2012

Wood Duck Call

Another one of my March projects was to make a wooden duck call. I got the kit for this a few years ago because it sounded awesome, but was having a hard time finding the weird drill bit size I needed. I happened to find out that we had one at work so borrowed it one weekend to finally be able to turn my duck call!! This was for my Dad as he likes ducks. I don't know if he'll find any or not, but it was fun! 

It is made in two parts that slide together and so I had to fit the parts quite carefully which was a fun and interesting experience. Here is the first part as I was working on it on the lathe. 

And here is the second part. They actually went together quite well. Perhaps beginners luck, but I also tried to go very slow and check often to avoid making it too big. 


Here is is with the duck call parts installed.

 
And here it is put together.

 
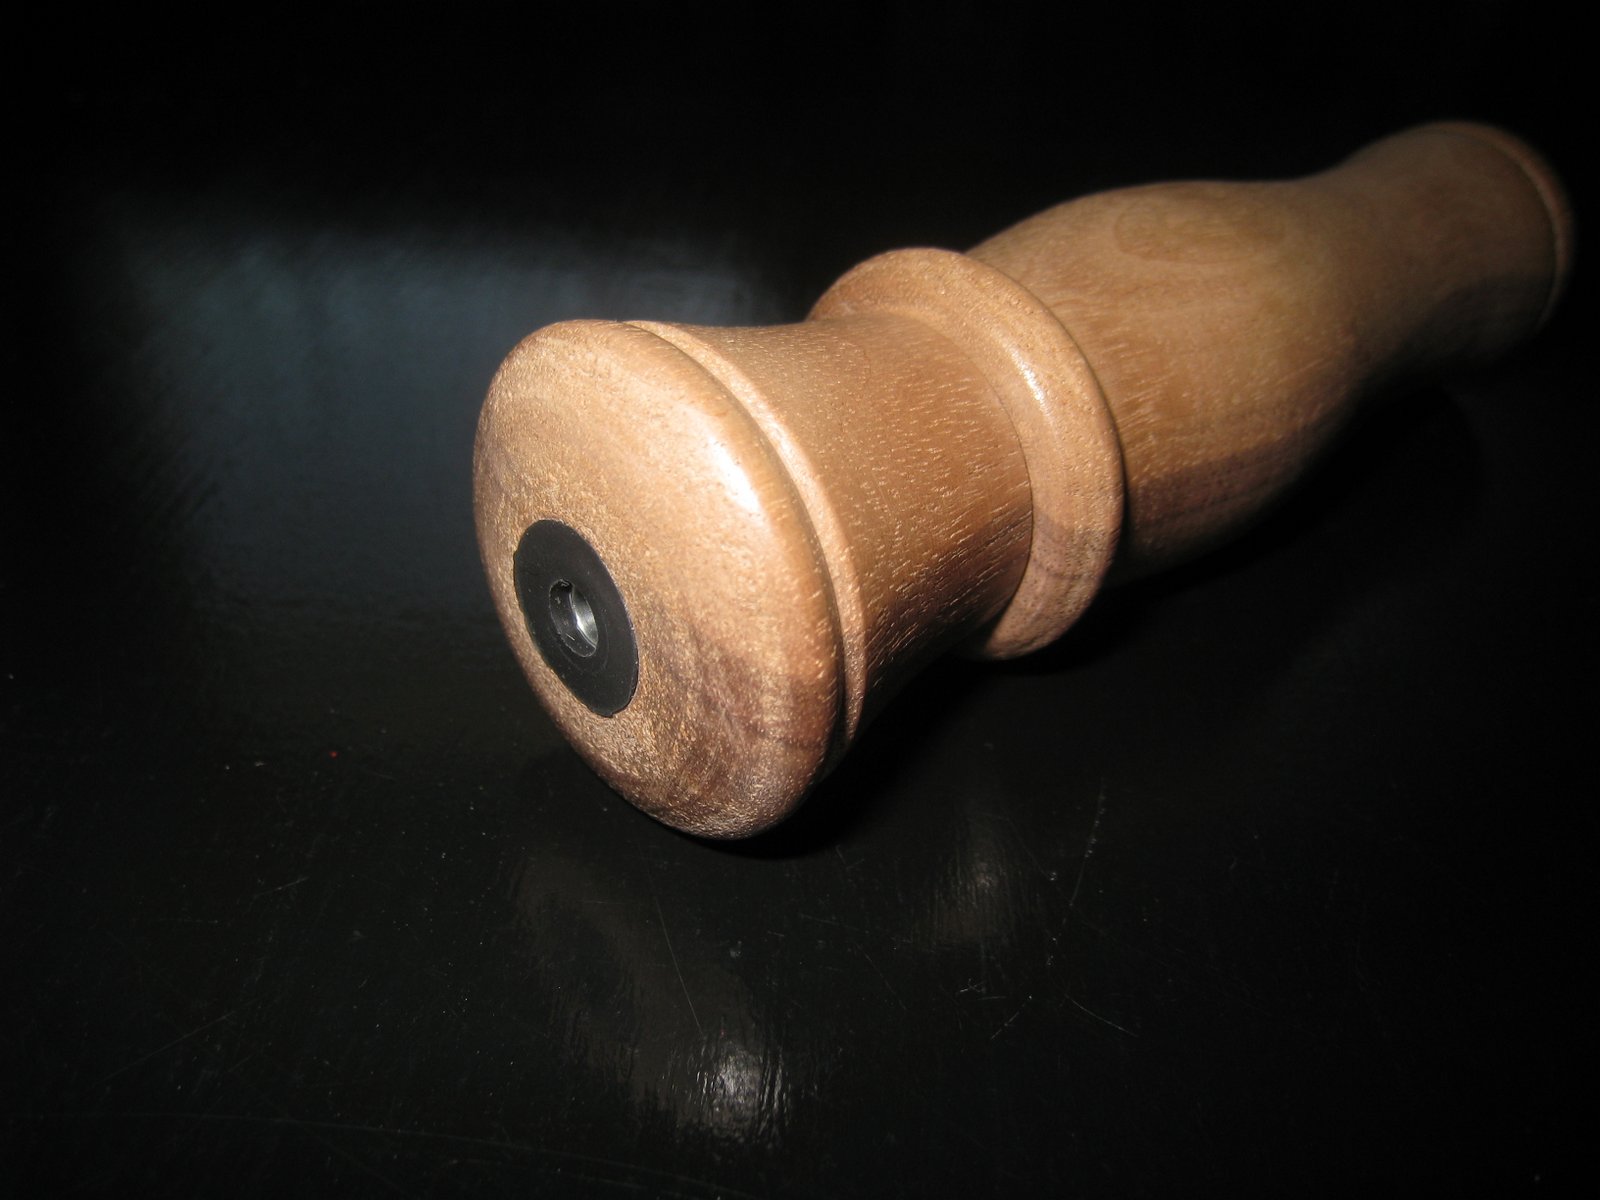
This is where the funny sound comes out of.

 
And this is where you blow into it. I sanded it well to avoid splinters!!

A small washer is added in a grove to create the seal for the call.

And here is a very poor demonstration of what it sounds like! 
It sounds alot different than I thought it would. But apparently that is because this kit was for a Wood duck which has a squeakier, whistlier sound than the typical quacking noise. 

Wednesday, March 25, 2009

Wooden Spokeshave

This project was really fun to do. I got given the hardware as a gift from a former co-worker at Veritas tools as a project to get me started with a woodworking project. Finally over the summer I had enough time and enough confidence to try my hand at this project. I learned alot of things while making this tool and am sure if I made another one it would turn out better, but it is still a really nice tool to use and its very satisfying using something you`ve made to make something else.

With the holes drilled and tapped, slits were cut to make the mouth of the spokeshave

With the mouth complete, recesses were carved to fit the blade perfectly

After quite a few fine adjustments, the blade fits just right

The brass knobs adjust the depth of cut

The brass plate fits snug into a little angled channel to prolong the life of the spokeshave

The brass plate fits just up to the blade. The brass was then filled flush and I went back and made the countersinks deeper

Then I carved the spokeshave to fit comfortably in my hands

I chose birdseye maple for the spokeshave as it is a good hardwood and because its one of my favorite woods