Showing posts with label Lego photo. Show all posts

Sunday, March 22, 2015

Winter Project Progess

Over the past few months, I've been kicking it into a bit higher gear in terms of working on projects. Trying to get a lot of partially finished projects completed, as well as get some news ones underway and done. I thought I'd just post some recap pictures of some of the things I've done since Christmas instead of trying to do a bunch of posts more in depth. I hope you enjoy! 

First up was doing the marquetry for the top of the shaker box I made several years ago. I'd been trying to decide between a few patterns and so not getting anywhere, so I eventually just picked this one. It's Link and Epona from Zelda. And I couldn't resist hiding a little Triforce as a surprise under the lid. This is the box with the cut marquetry before assembly and finishing. 

Here is the top of the box completed with finish.

And here's the underside of the lid. 

I hadn't turned anything in about a year, and wanted a simple project to wet my feet again. I decided to go for a doorstop as the front door kept slamming in the wind. I figured any mistakes wouldn't be noticed at all! I chose a random piece of wood from my stash, I have no idea what it is, but the grain and colour are quite beautiful. 

I also spent a bunch of time making a new "tower" of giraffes. (apparently that's what a group of them are called!) The fabric I used to get is discontinued, so I tried three new ones this time. They're all quite cute. 

I've been watching quite a few YouTube woodworkers, and I'd seen a few recently making Jointer's Mallets, which are big beefy all wood mallets that you use for chiseling or persuading joints to fit together. I figured I'd try one out, as using a tool you've made is always very satisfying! 

A better view of the nice wood grain - also from the mystery pile! 

I had this marquetry cut already from the Turned Tealight project I did. This was the inverse of the image. It seemed to nice to toss, so I'd kept it, and when I came across it, I figured I'd might as well turn it into a small wall picture. 

In case you're wondering about the sudden incentive to get my butt in gear, we are expecting a baby in August, so I figure I'd better get as many projects as I can done now, before I get too big, and then later, have my hands quite full with a new big project!! 

Tuesday, December 31, 2013

Happy Holidays! - Lego Charlie Brown Christmas Edition


Wishing everyone a belated Merry Christmas and a wonderful New Year to Come!!

Wednesday, January 23, 2013

Christmas Projects

Before it gets too much farther into the new year, I'd like to share some of the projects I made for Christmas. I didn't get to make much during the fall due to an epic adventure that Jerome and I went on.  But I did get lots of ideas while we were away, so I hope to have more to share soon. 


To begin this is the Lego Photo I made for Christmas this year.

Project 1: Necklace Hanger
A few years ago my mum requested a way to hang up her necklaces so that they wouldn't get all tangled. I measured everything, and made a really rough prototype to figure out the size and stuff. She's been using it ever since, and it was literally falling off the wall, as I hadn't made any of the joints properly. So this Christmas I dug out my notes and made a proper one.


It's made from maple and lacewood, with many Lee Valley hooks along the sides.


There's a dowel hinge so that it can lay against the wall most of the time, but she can swing it out to access all of the necklaces.


Here it is installed which gives a better idea of how it works.


Project 2: Wooden Necktie
I have seen photos of wooden ties before, and in November one of the woodworking youtube guys I watch did a video on making a wooden tie. I thought it would be fun to try, and so I made a few tweaks to build it with the tools I had. It turned out not too badly and I gave it to my dad for Christmas. I think there are a few things I'd do differently a second time, but that's part of the fun! He hasn't sent me a proper photo of him wearing it with a collared shirt yet, so here he is trying it on Christmas morning!


Project 3: Tiny Wooden Door
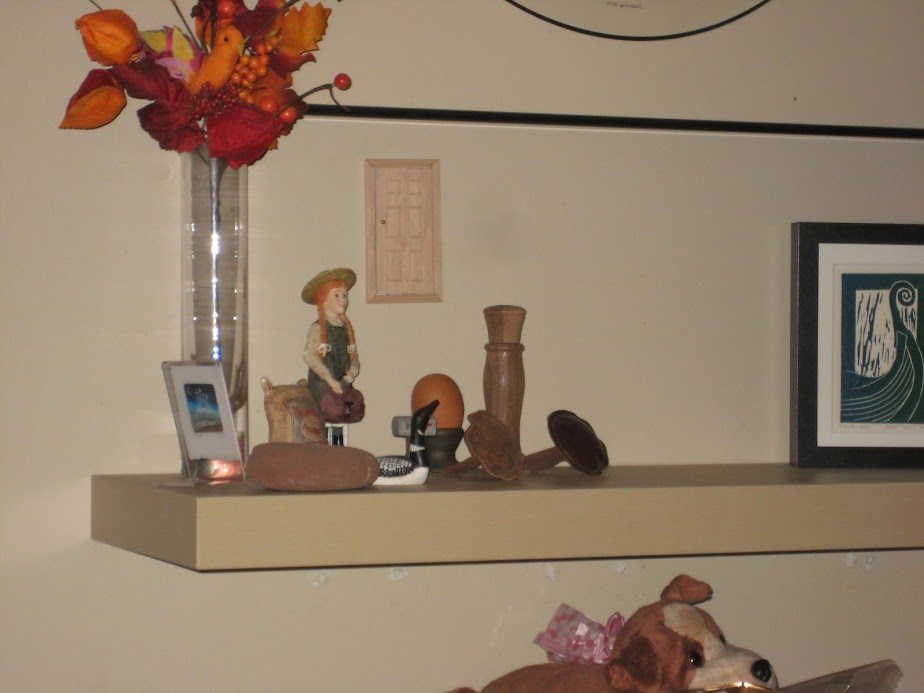
I saw the idea from this randomly online. A crafter installed tiny doors in her apartment to help her kids be less freaked out by the sounds of mice in the walls. She used doll house doors that you can buy and decorated them. I thought it was a fun idea, but didn't really want to buy anything. So I decided to attempt to build one. It was pretty fun making something so small, but a bit challenging. I did manage to get the door to open and close with tiny pins that I inserted. I also carved indents on the front and a peep hole, and installed a door knob made from another pin. The final size was 2"x4" x .1875" thick. I taped a cute picture in the back and on my last day at home, hid it behind some Christmas decorations so that my parents would find it as a surprise when they were putting everything away.


They thought it was pretty cute, and rehung it in another room.

Tuesday, June 19, 2012

Lego Photo #5: My Dad and I on a Bench

This was my second Lego photo that I took. It was for Dad's father's day last year. He has an affinity for benches, so I thought us hanging out on a bench would be fun, and I wanted to incorporate the outdoors.  I found a spot across from our apartment under a tree that had a nice root to put the bench on, and a day when the grass wasn't too long. These were the top two.

I liked this one because of the sky in the background, and the grass in the foreground. 

But I liked the better focus on the minifigs more in this one. 

Thursday, May 10, 2012

Lego Photo #4: Mum's Sewing Room

Here is another Lego photo that I took a while ago - last summer I believe, but thought since Mother's Day was coming up, this would be a good time to post it! It's a photo of my Mum in her sewing room, with her cutting table, dress form, rotary cutter, pin cushion, sewing machine, and a little quilt in the works.
I didn't do any real editing to these ones, just set them up with some good lights, on my desk to mimic her wood floor, and then started taking pictures. 


This one was a nice overall view that showed all the elements that I had incorporated. 

But in some ways I prefer this one, as it is a more realistic view point, as if another Lego person took it instead of from above. 

Wednesday, December 28, 2011

Lego Photo #3: Holiday Edition 2011


Merry Christmas and Happy New Year! 

This was my latest Lego photo endeavour as well as our Christmas photo for the year! I kept it quite simple, placing everything on some cotton batting to try and mimic snow, and back lit it with sunlight to make the star glow as much as possible. I wanted to try doing it on real snow, but that is sadly it is lacking in California! 

Thanks to all of your folks for taking interest in the projects I working on this year and for all your supportive comments and questions. I'm hoping to do even more posts next year so I hope you'll enjoy!

Wednesday, December 14, 2011

Lego Photo #2 - Curling Edition

I've been working away at top secret Christmas gift projects and so haven't really had much that I can post on here recently. I did however make this little vignette for my Dad's birthday card last month. It's a little montage of me and my dad, and our good friends Paul and Ken all curling together. 


It was pretty fun trying to make little curling rocks - and they do rock in fact! They have little round bases, and so can slide and spin around. The ice part was rather time consuming - placing all the tiny pieces, but I think in the end it turning out fairly realistic. I did some photoshopping on it to give it a more aged appearance which I think fits the picture better. Notice how I made sure I'm not sweeping!! 

Friday, November 11, 2011

Remembrance Day

Lest We Forget
Modeled after the Tomb of the Unknown Soldier in Ottawa


Tuesday, October 25, 2011

Lego Photo #1

Earlier this week I posted a fun photo to our cooking blog of Jerome and I cooking in Lego form. It got quite a few comments and emails from friends and family, so I thought I'd start posting some of the other Lego photos that I have taken in the same sort of series.


As most people who know me can attest, I am a big Lego fan and have collected a fair amount of Lego over the years. Our wedding cake toppers were even Lego people! Earlier this year I was messing with my Lego people and made one that had a moderate resemblance to me which I thought was amusing. I had found a little grassy area near work to eat lunch at and saw a tiny flower one day and thought it would be just the size for a Lego guy! So I lugged my camera and my Lego Laura to work one day and at lunch had a little photo shoot. I'm sure the people in the office building thought I was nuts, but I thought it was really interesting how the scale and juxtaposition of the natural world and the Lego came together. With a little tweaking it came out pretty nicely, and I ended up using it as a card for random notes, like I'm giving the recipient a little flower.


One of the other photos from the shoot which I didn't edit or anything.