Showing posts with label turning. Show all posts

Sunday, March 22, 2015

Winter Project Progess

Over the past few months, I've been kicking it into a bit higher gear in terms of working on projects. Trying to get a lot of partially finished projects completed, as well as get some news ones underway and done. I thought I'd just post some recap pictures of some of the things I've done since Christmas instead of trying to do a bunch of posts more in depth. I hope you enjoy! 

First up was doing the marquetry for the top of the shaker box I made several years ago. I'd been trying to decide between a few patterns and so not getting anywhere, so I eventually just picked this one. It's Link and Epona from Zelda. And I couldn't resist hiding a little Triforce as a surprise under the lid. This is the box with the cut marquetry before assembly and finishing. 

Here is the top of the box completed with finish.

And here's the underside of the lid. 

I hadn't turned anything in about a year, and wanted a simple project to wet my feet again. I decided to go for a doorstop as the front door kept slamming in the wind. I figured any mistakes wouldn't be noticed at all! I chose a random piece of wood from my stash, I have no idea what it is, but the grain and colour are quite beautiful. 

I also spent a bunch of time making a new "tower" of giraffes. (apparently that's what a group of them are called!) The fabric I used to get is discontinued, so I tried three new ones this time. They're all quite cute. 

I've been watching quite a few YouTube woodworkers, and I'd seen a few recently making Jointer's Mallets, which are big beefy all wood mallets that you use for chiseling or persuading joints to fit together. I figured I'd try one out, as using a tool you've made is always very satisfying! 

A better view of the nice wood grain - also from the mystery pile! 

I had this marquetry cut already from the Turned Tealight project I did. This was the inverse of the image. It seemed to nice to toss, so I'd kept it, and when I came across it, I figured I'd might as well turn it into a small wall picture. 

In case you're wondering about the sudden incentive to get my butt in gear, we are expecting a baby in August, so I figure I'd better get as many projects as I can done now, before I get too big, and then later, have my hands quite full with a new big project!! 

Thursday, September 25, 2014

Combining Turning and Marquetry - A Cavalier Tealight Holder

This was an experiment of sorts I did attempting to combine turning and marquetry. Several people in our marquetry club had shown pieces along the same lines, including plates and boxes. I decided to attempt a tealight holder. The first step was to turn the main body. I cut a small inset around the middle for the veneer, and drilled a hole in the top for the tealight. I don't seem to have any pictures, but it was the first turning I'd done in a while, so it was a bit of a challenge. 

The next challenge was laying out a design that would fit around the circumference, and that you wouldn't see the join line. I chose two Cavalier King Charles Spaniels with a butterfly. I cut them stacked, so that I actually got two copies of it, but in opposite colourways. 

Here's a more detailed shot. The height was trimmed to the exact height of the inset, and the length was slightly longer than the circumference. 

It was at this point that I realized that I'd made my life harder than necessary. While the veneer bends quiet well, especially when covered with glue, the very tight radius I'd chosen, made it very finicky to bend without it cracking. In the end, after quite a while, I got it to work. It gets glued in two stages. During the first step, I put glue on all but the last half inch on each side, to get the majority of the piece in place. When it was dry, I put a straight edge over the overlapping end bits, and made a cut with an exacto-knife through both of the pieces at once. This gives a really tight, perfect fit. I then glued the last bits. Rubber bands are the only real way to clamp it in place. I didn't have enough hands while trying to get everything aligned to take step by step photos, but am planning another similar project, where I'll show this more clearly. 

I stamped my initials in the bottom as a signature. Then added several coats of Waterlox Finish, and buffed it on the Beall Buffing system.

And this is how it turned out. I really like how no matter which way you look at it, there's something to see. So in the middle of the table, it's interesting for everyone. I definitely learned a lot doing this project, including many things I'd do differently to improve on it, and am quite excited to give it another go! 

Monday, July 9, 2012

Wooden Name Tag

Since I've moved here I've joined both the local woodturning club and more recently the marquetry club. The turning club requires a name tag - ideally turned, and if you're caught at a meeting without one you are supposed to make a $1 donation to the club. So this winter I finally had an idea for making one that involved both turning and marquetry, so that I could be covered for both. The backer disc is turned around the outside as well as a small indent in the front where I glued in the marquetry I cut with an exacto knife. I designed it with my name and a maple leaf on it as a conversation starter to meet new people. The whole thing is 3" across, and so the letters were very challenging and tiny, which is why I decided against removing the centers of the letters. I glued a pin to the back and now wear it and save a dollar every month at the meetings!


Sunday, May 6, 2012

Wood Duck Call

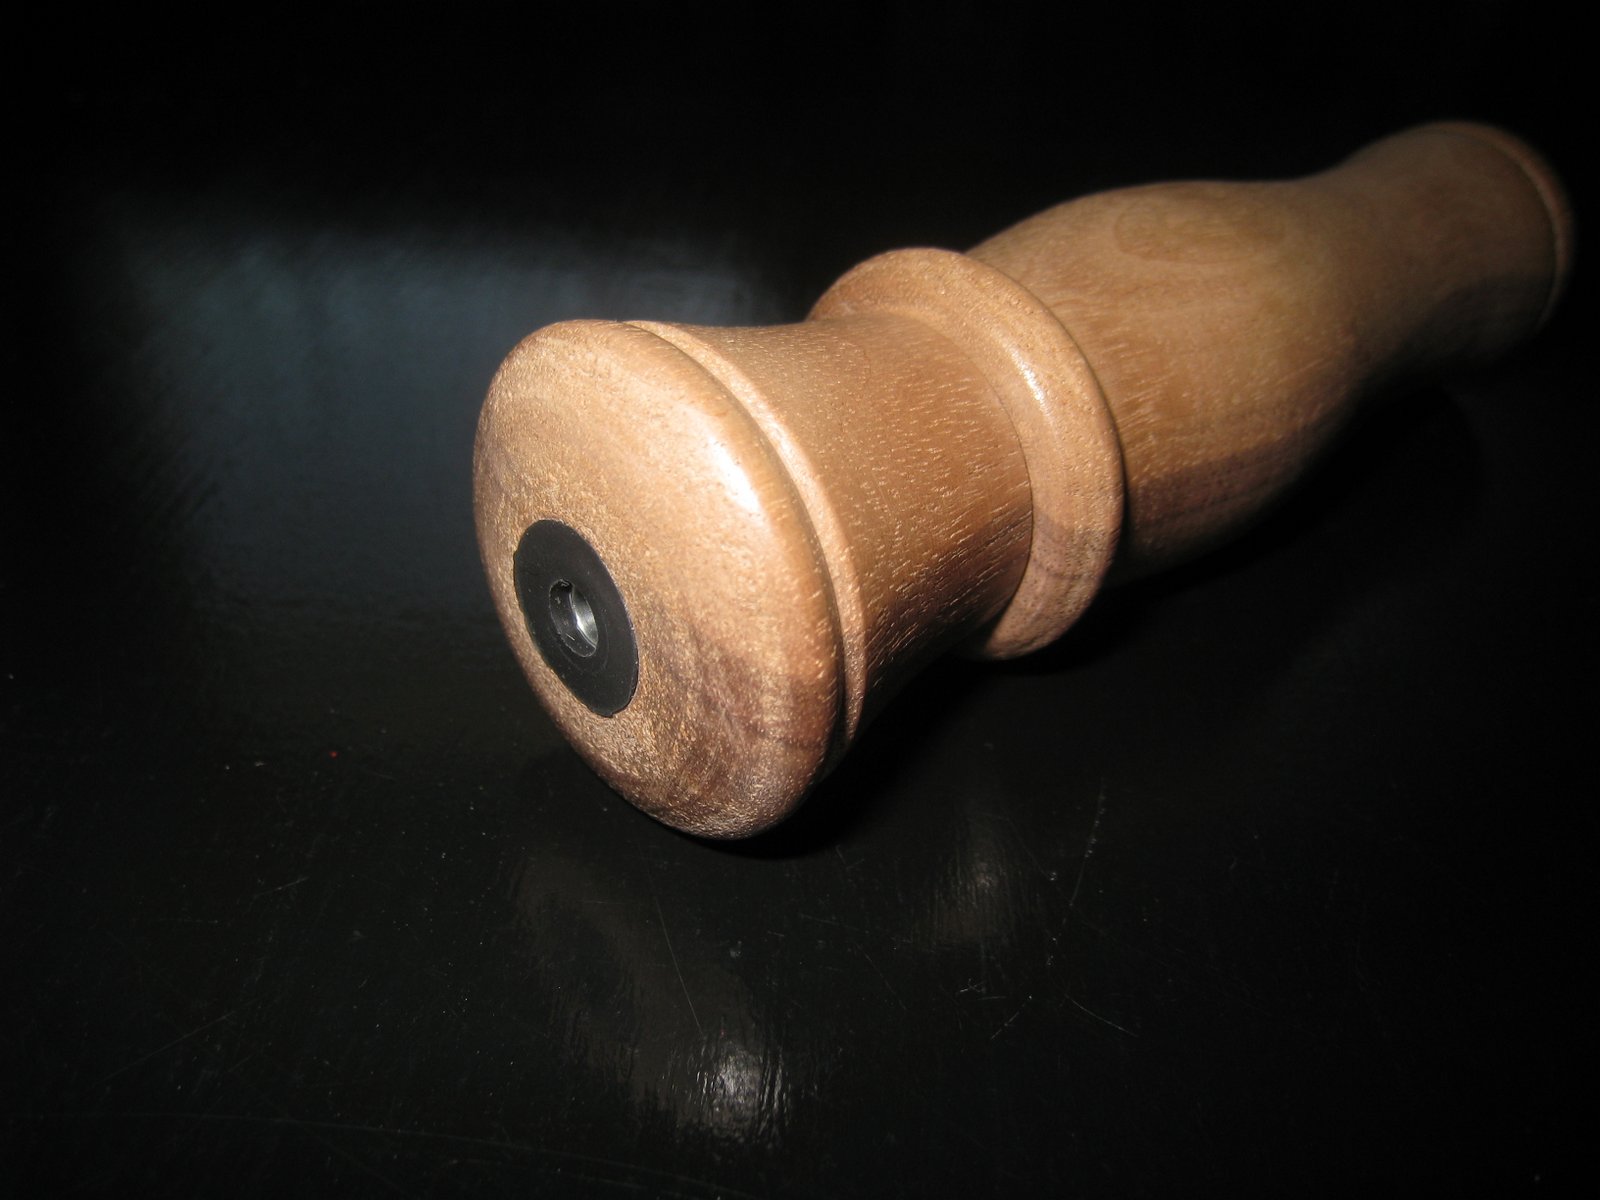
Another one of my March projects was to make a wooden duck call. I got the kit for this a few years ago because it sounded awesome, but was having a hard time finding the weird drill bit size I needed. I happened to find out that we had one at work so borrowed it one weekend to finally be able to turn my duck call!! This was for my Dad as he likes ducks. I don't know if he'll find any or not, but it was fun! 

It is made in two parts that slide together and so I had to fit the parts quite carefully which was a fun and interesting experience. Here is the first part as I was working on it on the lathe. 

And here is the second part. They actually went together quite well. Perhaps beginners luck, but I also tried to go very slow and check often to avoid making it too big. 


Here is is with the duck call parts installed.

 
And here it is put together.

 
This is where the funny sound comes out of.

 
And this is where you blow into it. I sanded it well to avoid splinters!!

A small washer is added in a grove to create the seal for the call.

And here is a very poor demonstration of what it sounds like! 
It sounds alot different than I thought it would. But apparently that is because this kit was for a Wood duck which has a squeakier, whistlier sound than the typical quacking noise. 

Thursday, November 10, 2011

Woodturning Club Competition

This past weekend the wood turning club I belong to had their annual competition. They put a lot of work into the organization and how it all comes together, making sure that every single piece that gets submitted gets constructed feedback of what is good about the piece and what could be improved. This is all done by two guest judges who examine each piece and critique it and finally award various prizes. There were 98 entries and they got through them all in about 3 hours! I stuck around and listened to what they said about mine. But there was also someone frantically noting down all their comments so at the end we got nice little comment sheets. They even took really nice photos of all our work and printed those on the pages with teh feedback. Luckily, there are several categories as well as skill levels you can enter, so I didn't have to worry about going up against some of the geniuses in the club. They were very encouraging and I thought I'd give it a go and at least get some good pointers for what to improve. 

This was my first ever natural edge bowl. The photo looks about 200 times better than the actual bowl, but I didn't really know how to finish it or a good technique for the inside. The judges were very helpful in describing better ways to get a nice form, finish and some techniques, so I'm going to try another one soon while I still remember. 


This was a lidded box I made about a year ago, and to my surprise it won a second place ribbon in the beginner box category! They still had many suggestions for improvement, so I'll keep working on those things as well.

All in all it was pretty neat to see all the things everyone made, and there were some pretty awesome pieces. And it was really great to get some feedback from people who really know their stuff. 

Thursday, October 13, 2011

Spoon Rest

So to get back to turning, I decided to take on a nice simple small project. A spoon rest! I had the idea for it several months ago, just a simple cylinder with a concave surface and a small flat area so it doesn't roll around. I've made several wooden spatulas in the past which you can see here and it's always a pain when you have to lay them on the counter. That being said we wipe down the counters anyways, so I don't mind if there are drips, I just wanted something to prop up the spoon and not take away much counter space. 

Here you can see it in action with on of the spatulas I made. 
You may have seen it before as we use it in almost all of our cooking adventures!

You can see the concave area and flat spots here. 

I polished it up with wax and buffed it so that the food won't stick to it. 

I'm thinking it would be a good set to give as gifts for the upcoming holiday season. 
We'll see though, I have a few other projects up my sleeve that may need to come first. 

Tuesday, June 21, 2011

Evolution - 25 years of Turning - WBAW entry to the AAW Symposium


This is what the amazing people in my turning club put together this month for the 25th AAW symposium. There are 25 miniatures (1.5"cube max dimensions) representing all different types of turning. The carousel was also turned! It's hard to see the details of all the miniatures, but I got to see them in person at the last meeting and they are ridiculous! All of the lids to the boxes are removable and they are hollowed, there's tiny carving and burning on some. There's even a segmented piece in there with over 100 pieces! 

I've got a lot to learn from these folks!