I started this project last summer with the intent of finishing it before our big trip. The design is of an
inukshuk perched on a rock. An inukshuk is a stone landmark often used by the Inuit or in arctic areas to mark a spot where there aren't other means. They are very interesting and intriguing and you often see images of them in vast uninhabited areas standing guard. I had thought it would make a nice marquetry piece.
The marquetry part went very quickly - I completed it in a several evenings. Picking the veneers was really fun. I had seen the light background in my stash and it reminded me a bit of the northern lights so I thought it was perfect.
The hard part was the frame I had envisioned for it. I had a very particular idea of what I wanted, but it took a while to sort it out. I don't have a table saw, so I got my friend at work to cut the strips of maple which had a nice ripple effect in it. That was as far as I got before we left.
When we returned I got back to it, and decided that since I hadn't done a wood project in a while I should do all the joinery by hand. This was pretty fun, but very time consuming. I have a set of mini planes from Lee Valley which were perfect for this, and it was good practice.
After many hours and lots of patience and finishing an audiobook or two, I got the perfect fit I wanted. The frame pieces each have two recesses to accept the other fram pieces and on the back there is a channel all the way around for the marquetry panel to fit it. I seem to have missed getting a picture of this though.
Then I glued the marquetry to a 1/4" piece of plywood and drilled the hole for the clock.
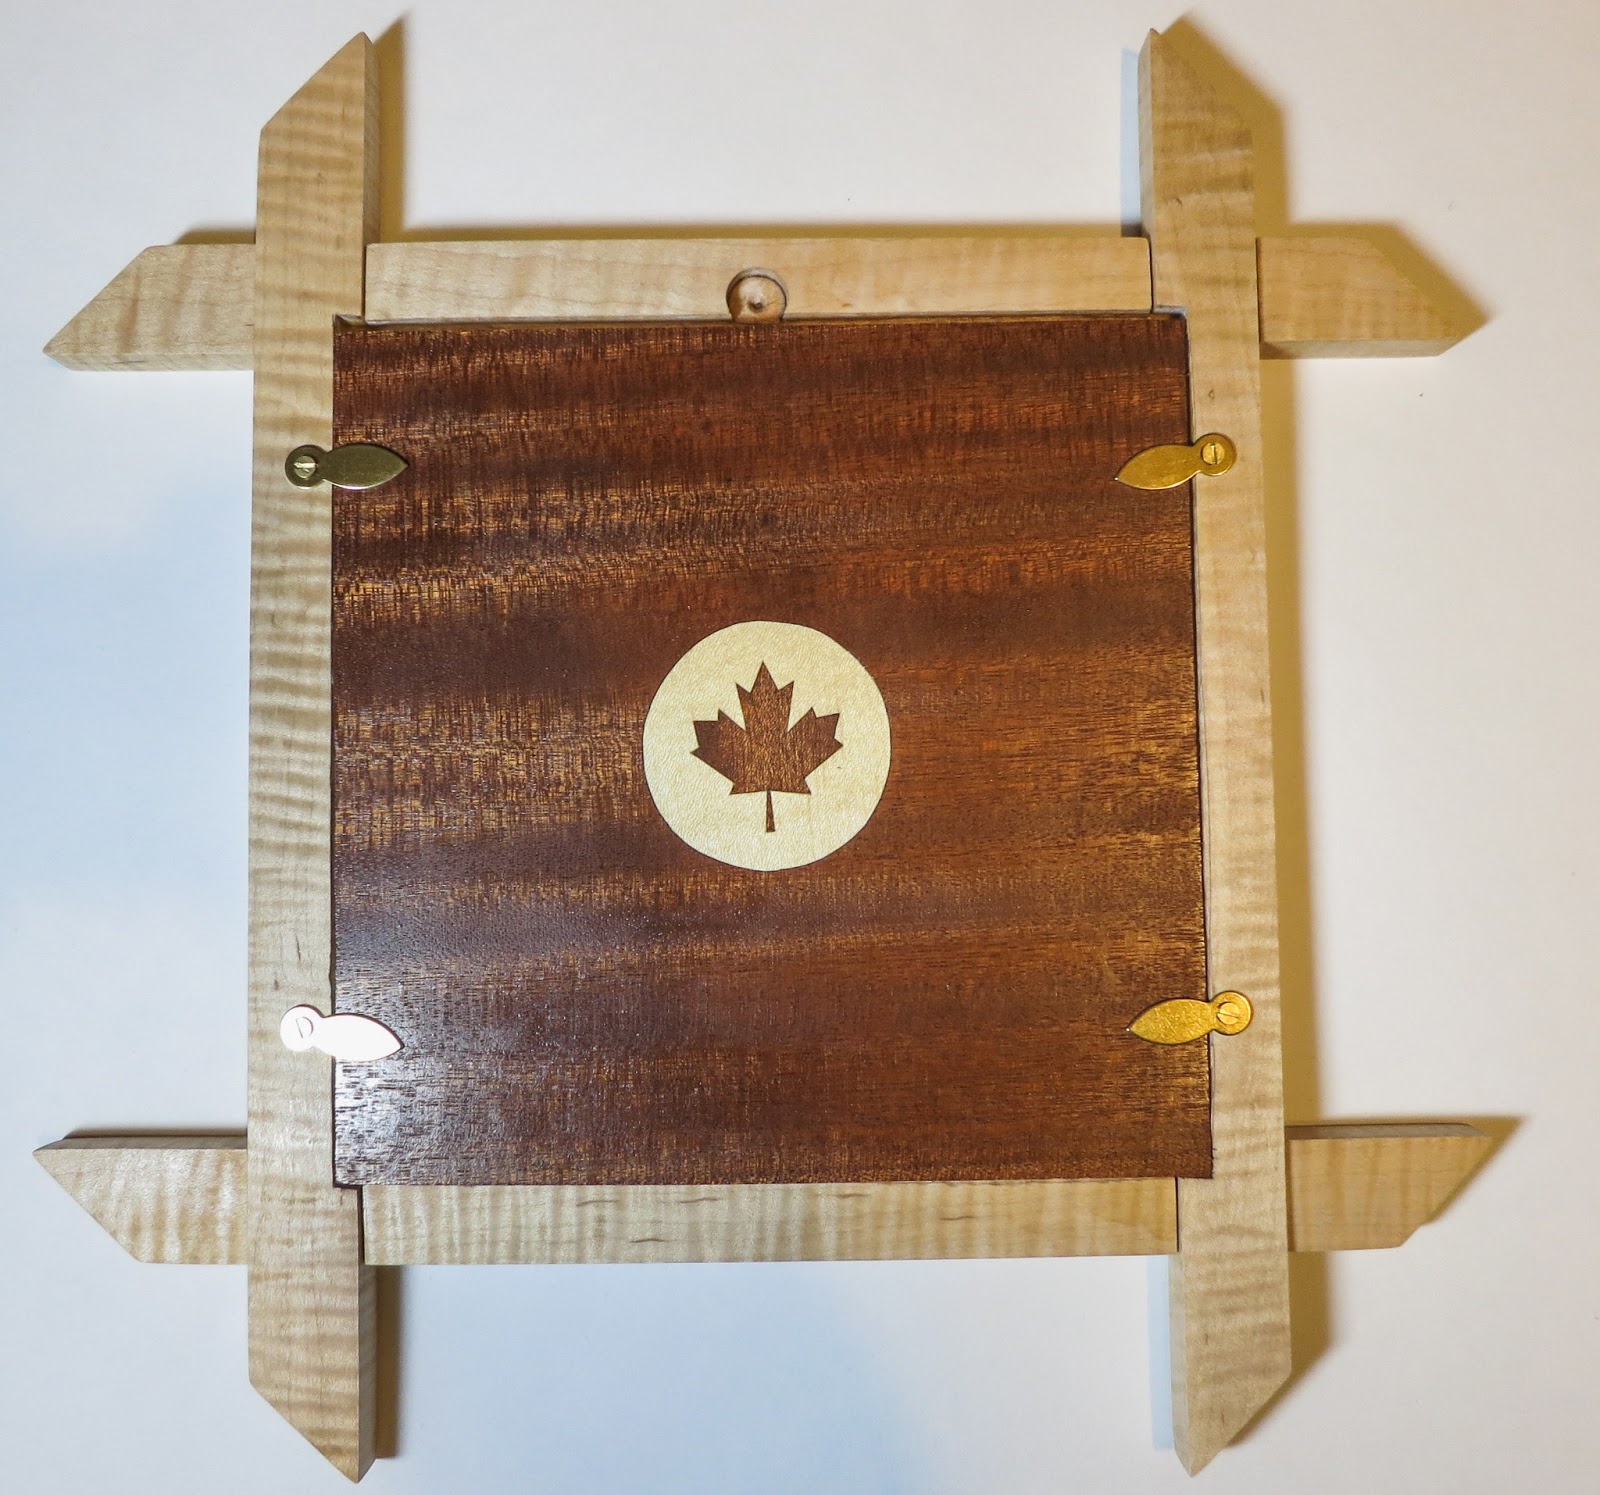
Not one to leave well enough alone, I added a bit of marquetry to the back as well. It may look familiar from my
wooden name tag as it should as this was one of two I made to decide what colours I liked better.
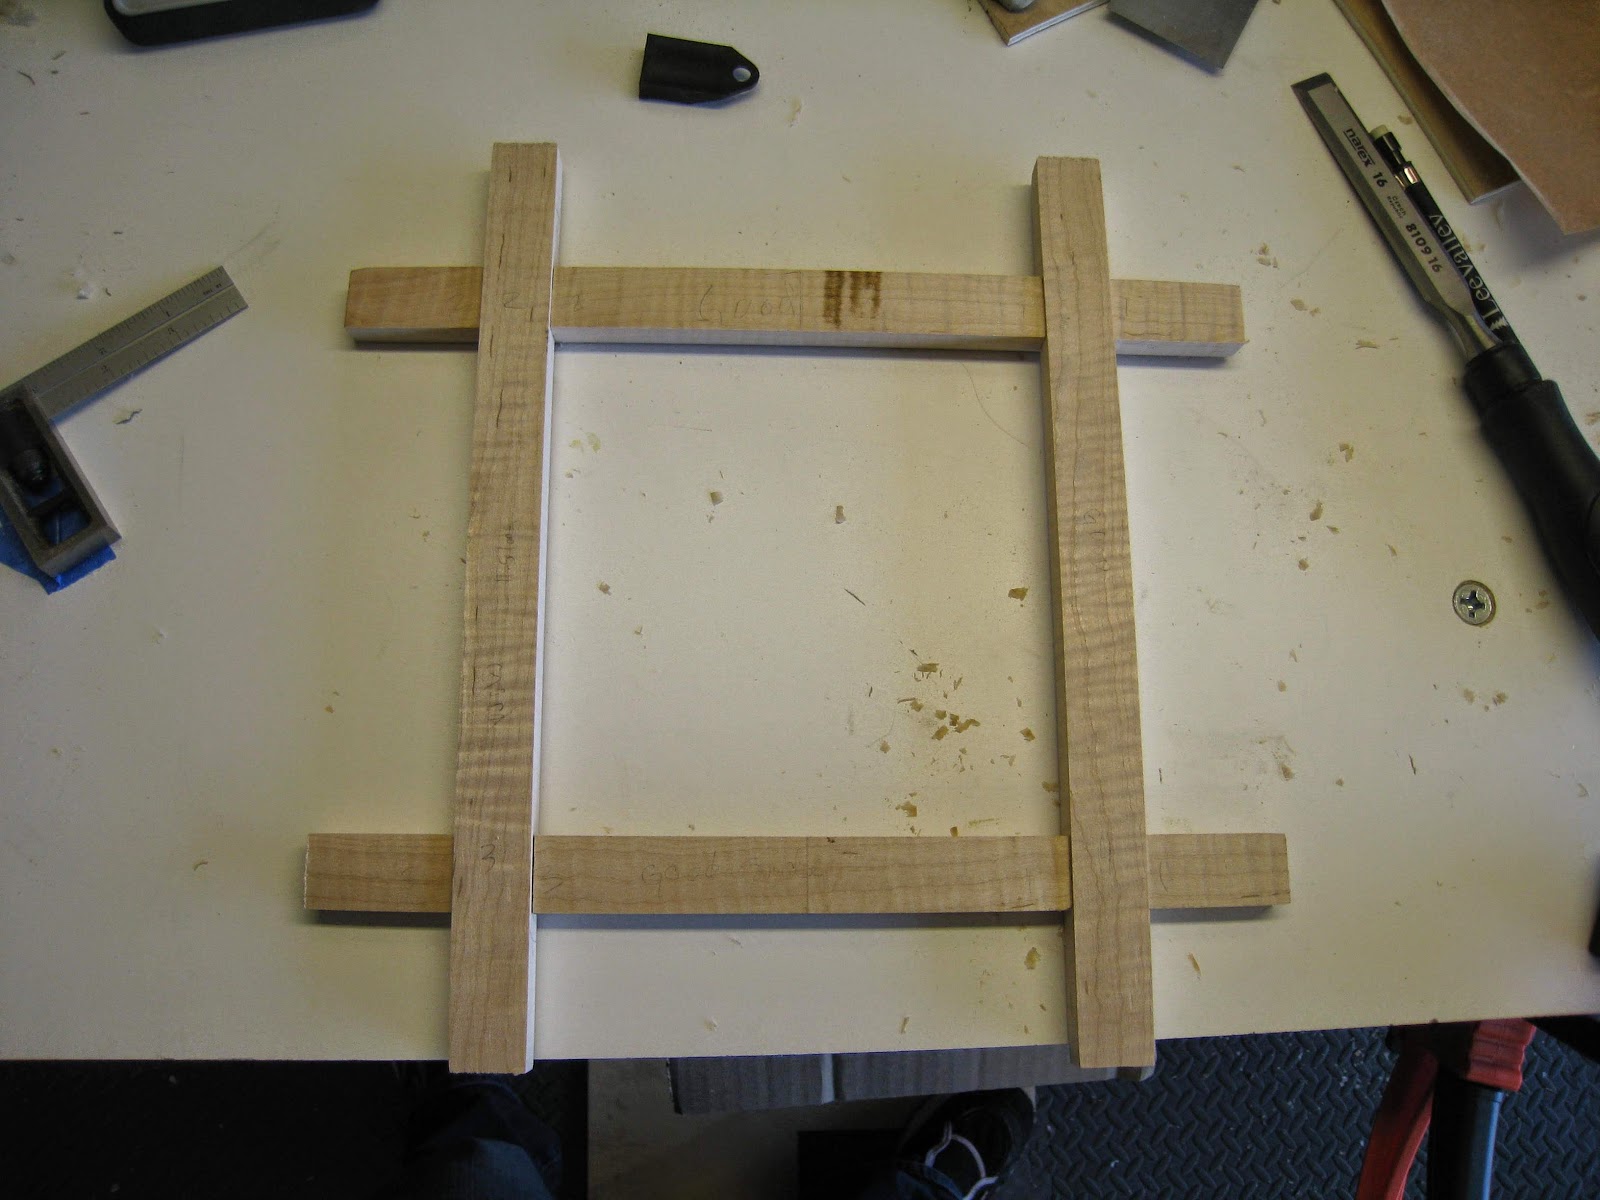
A quick test assembly before putting on the last touches and the finish.
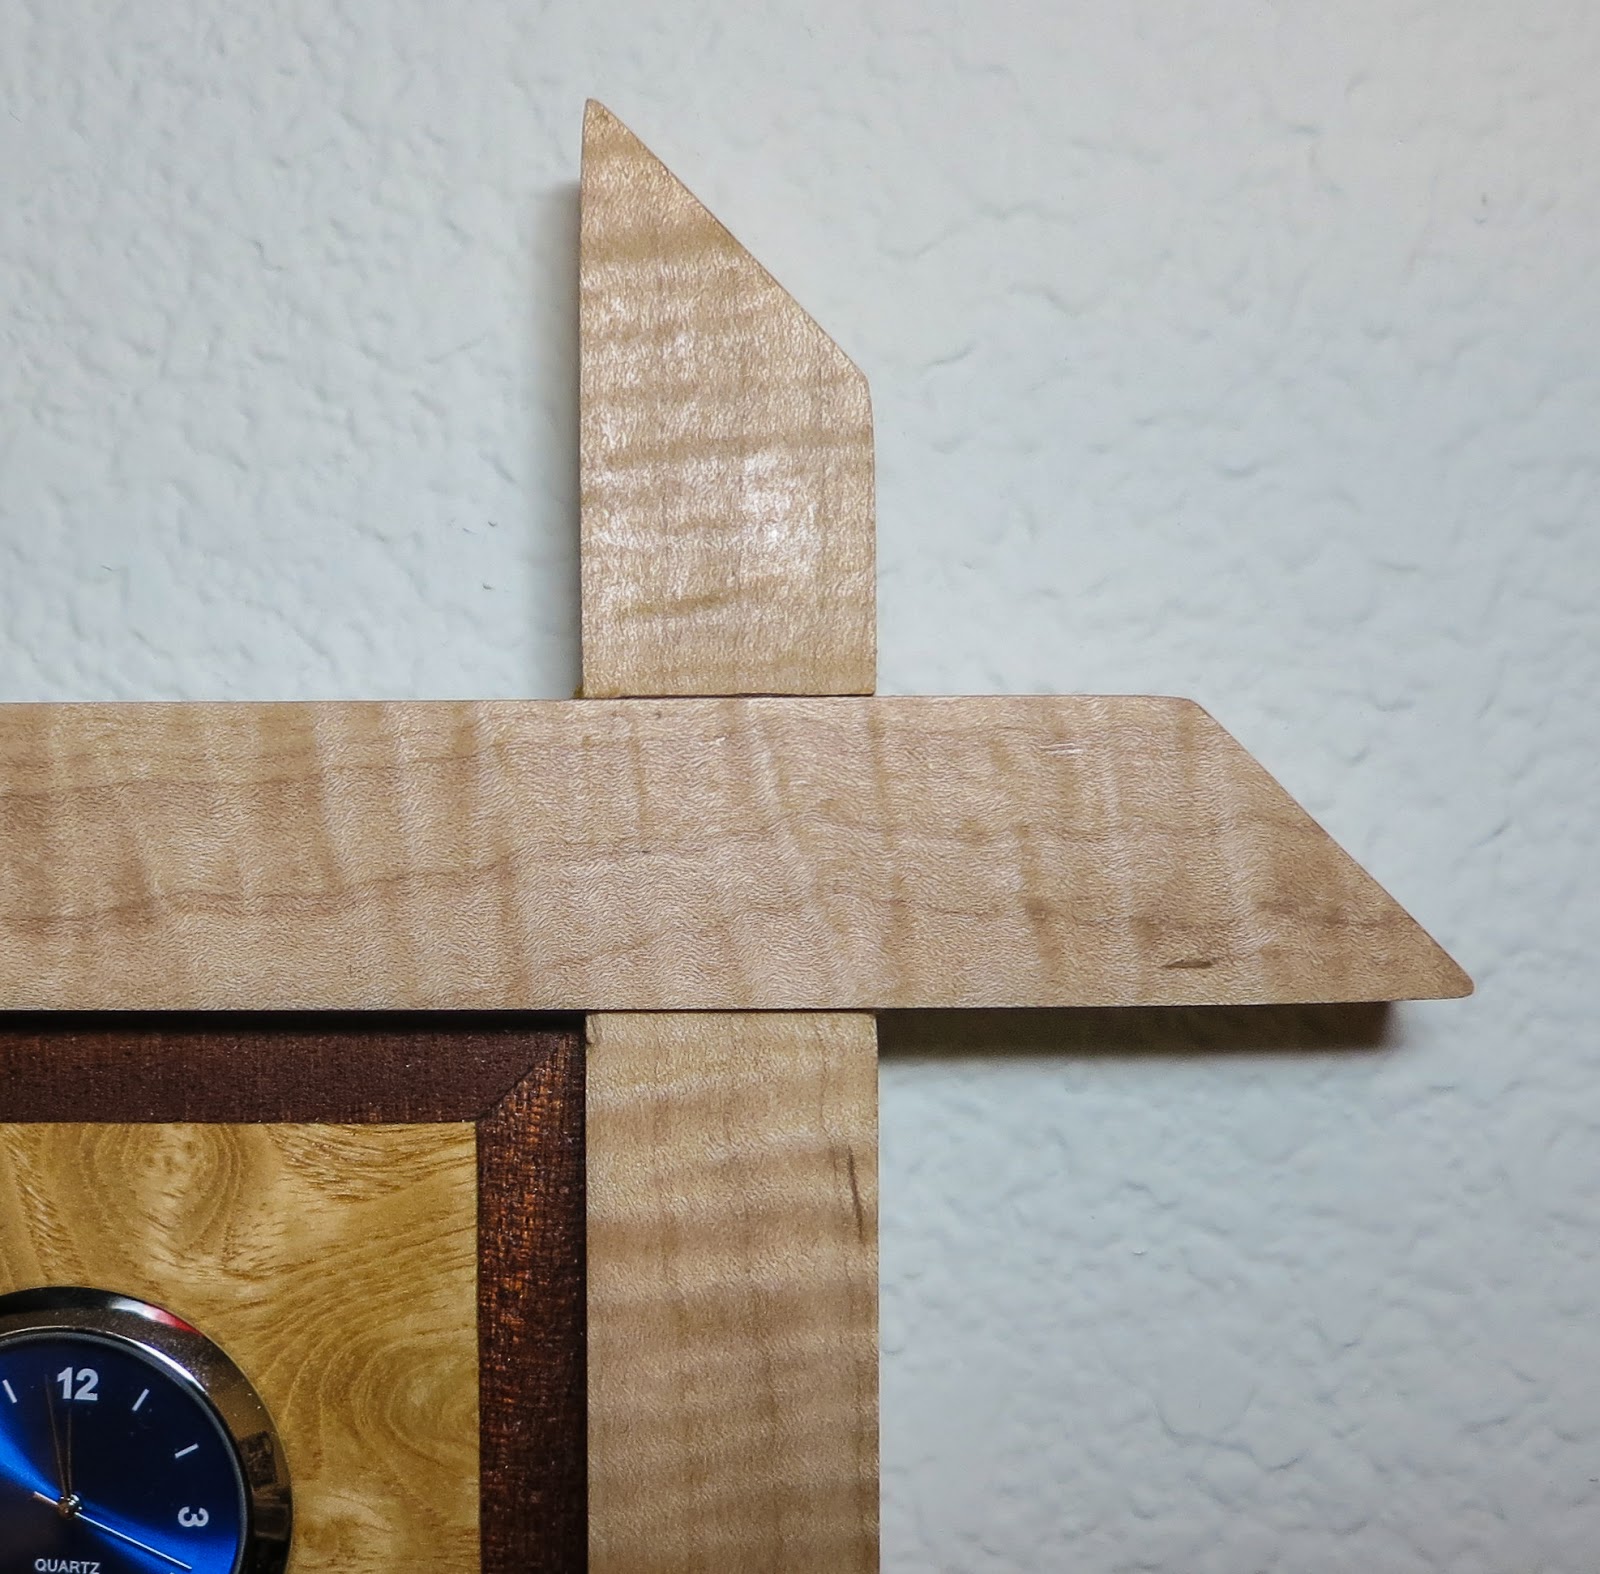
Here it is hanging on the wall all done. You can see I added angles to the corners. You can also see how much the coat of finish brings out the waviness of the wood!
Here's a detail of the nice tight fit I got on the lap joints.
And the back with the hang hole and retaining clips. You can see here how the marquetry is inset into the frame.
Even though I'm almost a year later than I wanted to be, I am very happy with how it turned out in the end. I hope it will be enjoyed by it's recipient!