So while I seem to be doing not too well on blog posts, I haven't been doing too badly on working on projects. So here is a collection of some of the smaller projects that I've worked on over the winter. I'll be posting full projects of some bigger things in weeks to come.


I started by re-organizing my shop. I got two sheets of pegboard and got all my tools hung up so that they'd have a place that wasn't always on my work table. I also got a light fixture to put above my worktable so I can actually see what I'm doing when its later in the day.


Next I made this quick plywood belt and tie hanger for our closet. I got the metal hook from an old plastic store hanger we had. Then I just drill holes and connected them on the bandsaw to create the slots for the belts. Some sanding and clear coat later, we finally have a place for all our belts and ties that makes sense!

I had a bunch of old files from my great uncle and grandfather that I like to use, but that had no handles. I took the opportunity to practice my turning and made some! I just used plumbing nuts for the metal ferrules - they're inexpensive and do the trick nicely. I used some small pieces of wood I had leftover and even tried burning in lines on the bigger one. Now I use them much more often since they're actually comfortable to hold!

I found this cute tutorial for fabric labels a few years ago, and finally got around to making some. You print your design on iron on transfers, and then iron it to twill tape that you sew onto your projects. I did a variety of different designs and colours so I will hopefully have something handy for any project I do in the next while.

Here's one of them stitched onto a baby blanket I made.

I had a stash of cute flannelette that I got made into little baby blankets and got to try out the sewing labels.
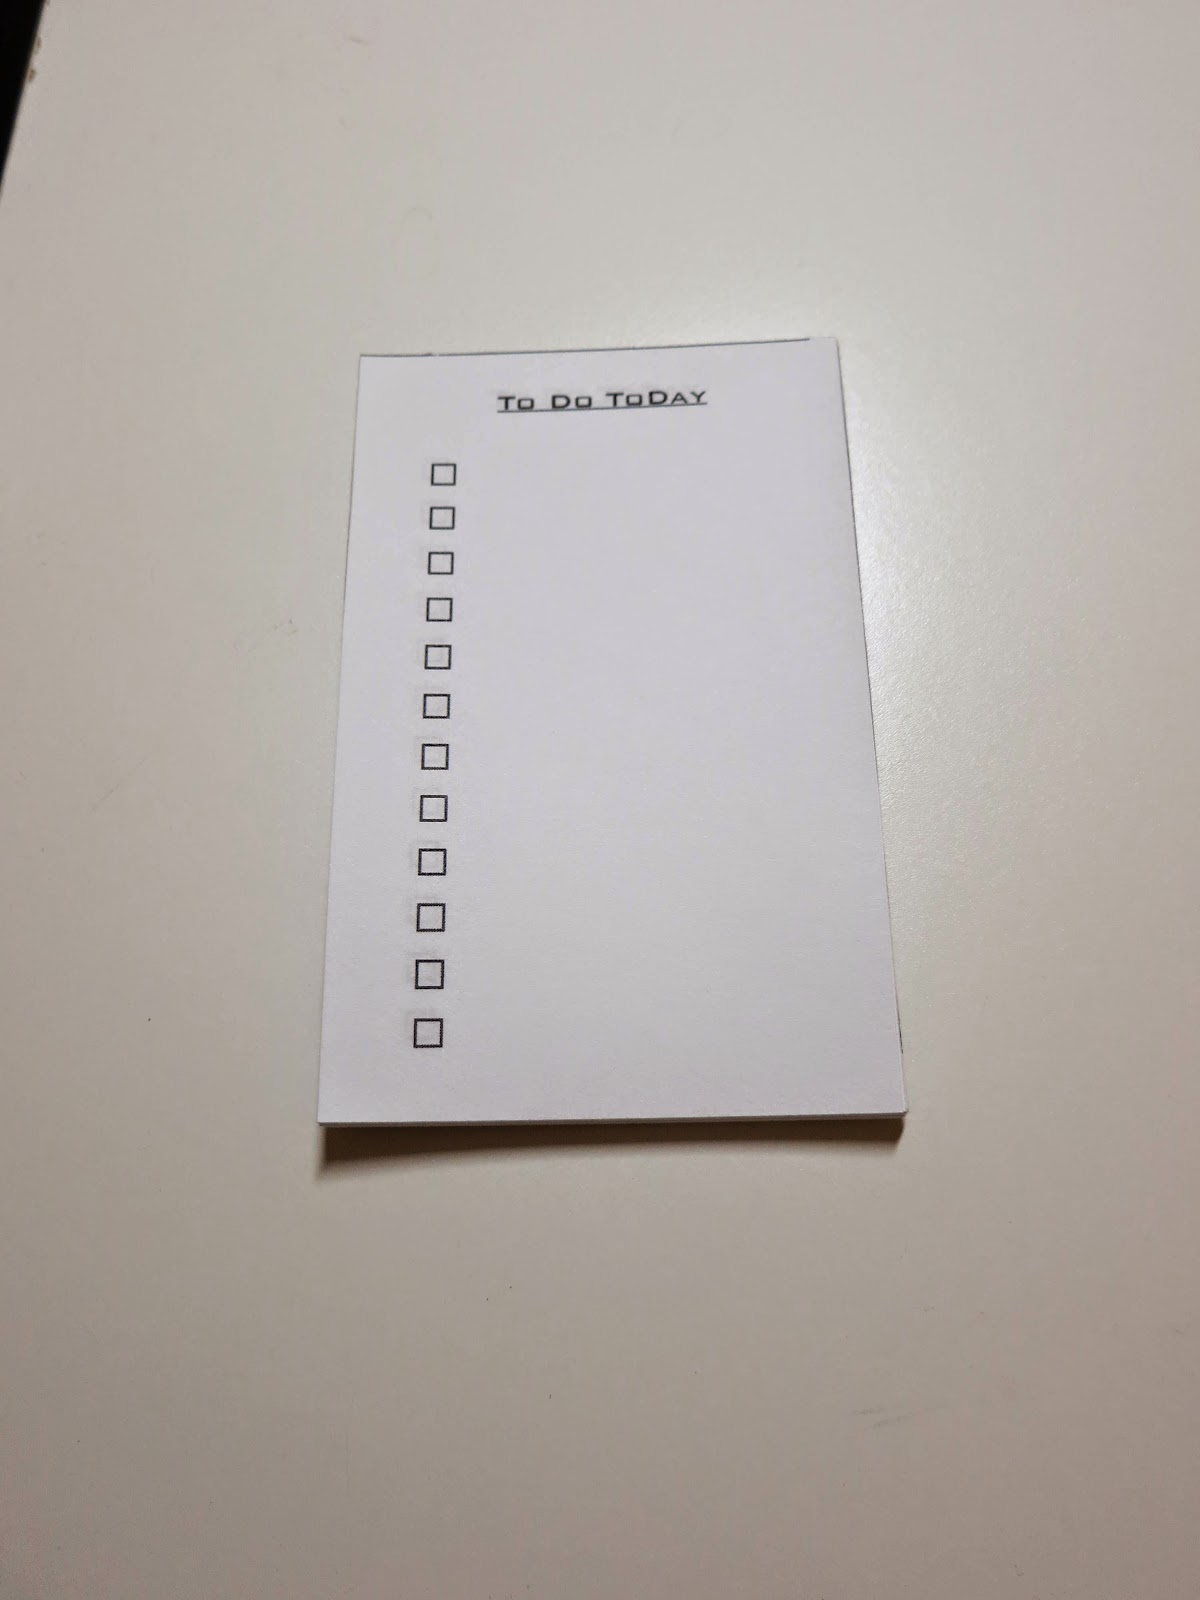
I also got this amazing stuff called padding compound. Its that weird plastic-y stuff that holds pads of paper together at the top. It's really neat because you can just paint it onto any stack of paper you have and turn it into a note pad! I think it's really fun, Jerome is sure I'm crazy.

It's a bit hard to see as it dries clear. I've made several custom notepads for lists using both printer paper and index cards. It's really easy to use, you just clamp your paper together - the tighter the better - brush on the stuff and wait a few hours. I have lots of ideas for neat notepads!