
A few months ago my best friend completed her Phd. I wanted to make something to celebrate such an amazing achievement. I decided to put my marquetry skills to work. I started my picking a size and a font for a nameplate. I printed it out to scale and using carbon paper transferred the pattern onto some pretty veneers I had in my box. I cut this project with an exacto knife so I could get all the tiny details. The whole thing measured 2"x 6". To cut the letters You cut the hole in the background, and then use that to cut an exact letter to fit in the hole. It's very precise and slow work, but the result of getting a perfect fit is worth it.

Here you can see the hole of the N is cut out and awaiting it's filling. You use a ton of tape - both low tack transfer tape, and regular scotch tape to keep everything in place and to avoid losing pieces!

Here's the lettering complete. It's from the back as the front is covered in tape to hold it all together.

I added a border with mitered corners to make it more official looking.

Gluing is the scary part. Everything can go wrong here and ruin all your delicate work. Luckily with careful taping and alignment, this one worked perfectly. It is glued to a 1/2" piece of plywood. I repeated the process with a plain piece of veneer on the back

To finish the piece I glued strips of matching veneers to the sides to make it look like a solid piece of wood.

Several coats of finish and buffing it with wax bring out the shimmer and colours of the wood. The background is maple and I'm not sure what the redish wood is.
The nameplate can sit on a desk or shelf, or be hung on a wall.

Here's a few detail shots. The letters themselves are 3/4" tall.
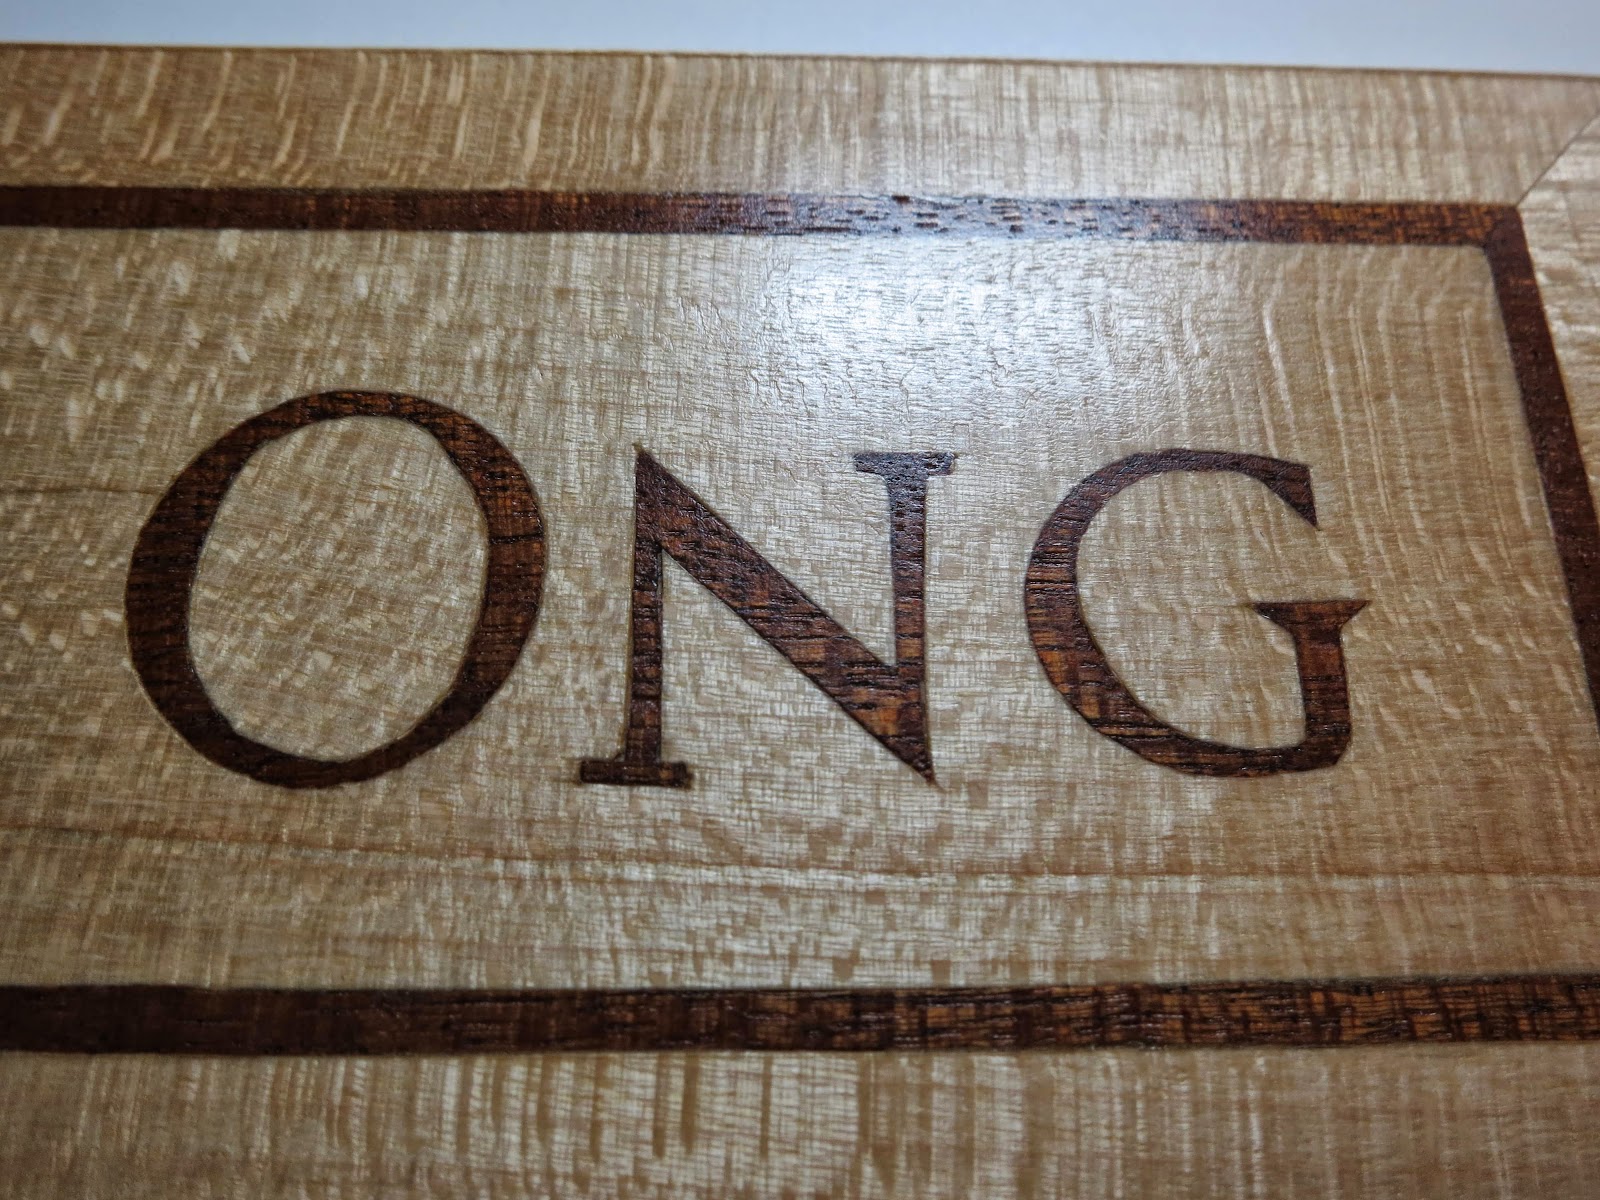
You can really see the cool patterns in the wood in these ones.