This was my second Lego photo that I took. It was for Dad's father's day last year. He has an affinity for benches, so I thought us hanging out on a bench would be fun, and I wanted to incorporate the outdoors. I found a spot across from our apartment under a tree that had a nice root to put the bench on, and a day when the grass wasn't too long. These were the top two.
I liked this one because of the sky in the background, and the grass in the foreground.
But I liked the better focus on the minifigs more in this one.
My latest sewing endeavour has been to make a series of leather moustaches. I chose a variety of types and colours and stitched them to background squares. I carefully stopped sewing before I got all the way around, so that I could add in a bit of stuffing, to get them dimension. Each frame is about 6"x6". I got the leather from someone who was giving away their sample kits for couches. So I have many small rectangles, and have been trying to come up with projects to use them on. Here are some close ups to see the textures.
Here is another Lego photo that I took a while ago - last summer I believe, but thought since Mother's Day was coming up, this would be a good time to post it! It's a photo of my Mum in her sewing room, with her cutting table, dress form, rotary cutter, pin cushion, sewing machine, and a little quilt in the works.
I didn't do any real editing to these ones, just set them up with some good lights, on my desk to mimic her wood floor, and then started taking pictures.
This one was a nice overall view that showed all the elements that I had incorporated.
But in some ways I prefer this one, as it is a more realistic view point, as if another Lego person took it instead of from above.
Another one of my March projects was to make a wooden duck call. I got the kit for this a few years ago because it sounded awesome, but was having a hard time finding the weird drill bit size I needed. I happened to find out that we had one at work so borrowed it one weekend to finally be able to turn my duck call!! This was for my Dad as he likes ducks. I don't know if he'll find any or not, but it was fun!
It is made in two parts that slide together and so I had to fit the parts quite carefully which was a fun and interesting experience. Here is the first part as I was working on it on the lathe.
And here is the second part. They actually went together quite well. Perhaps beginners luck, but I also tried to go very slow and check often to avoid making it too big.
Here is is with the duck call parts installed.
And here it is put together.
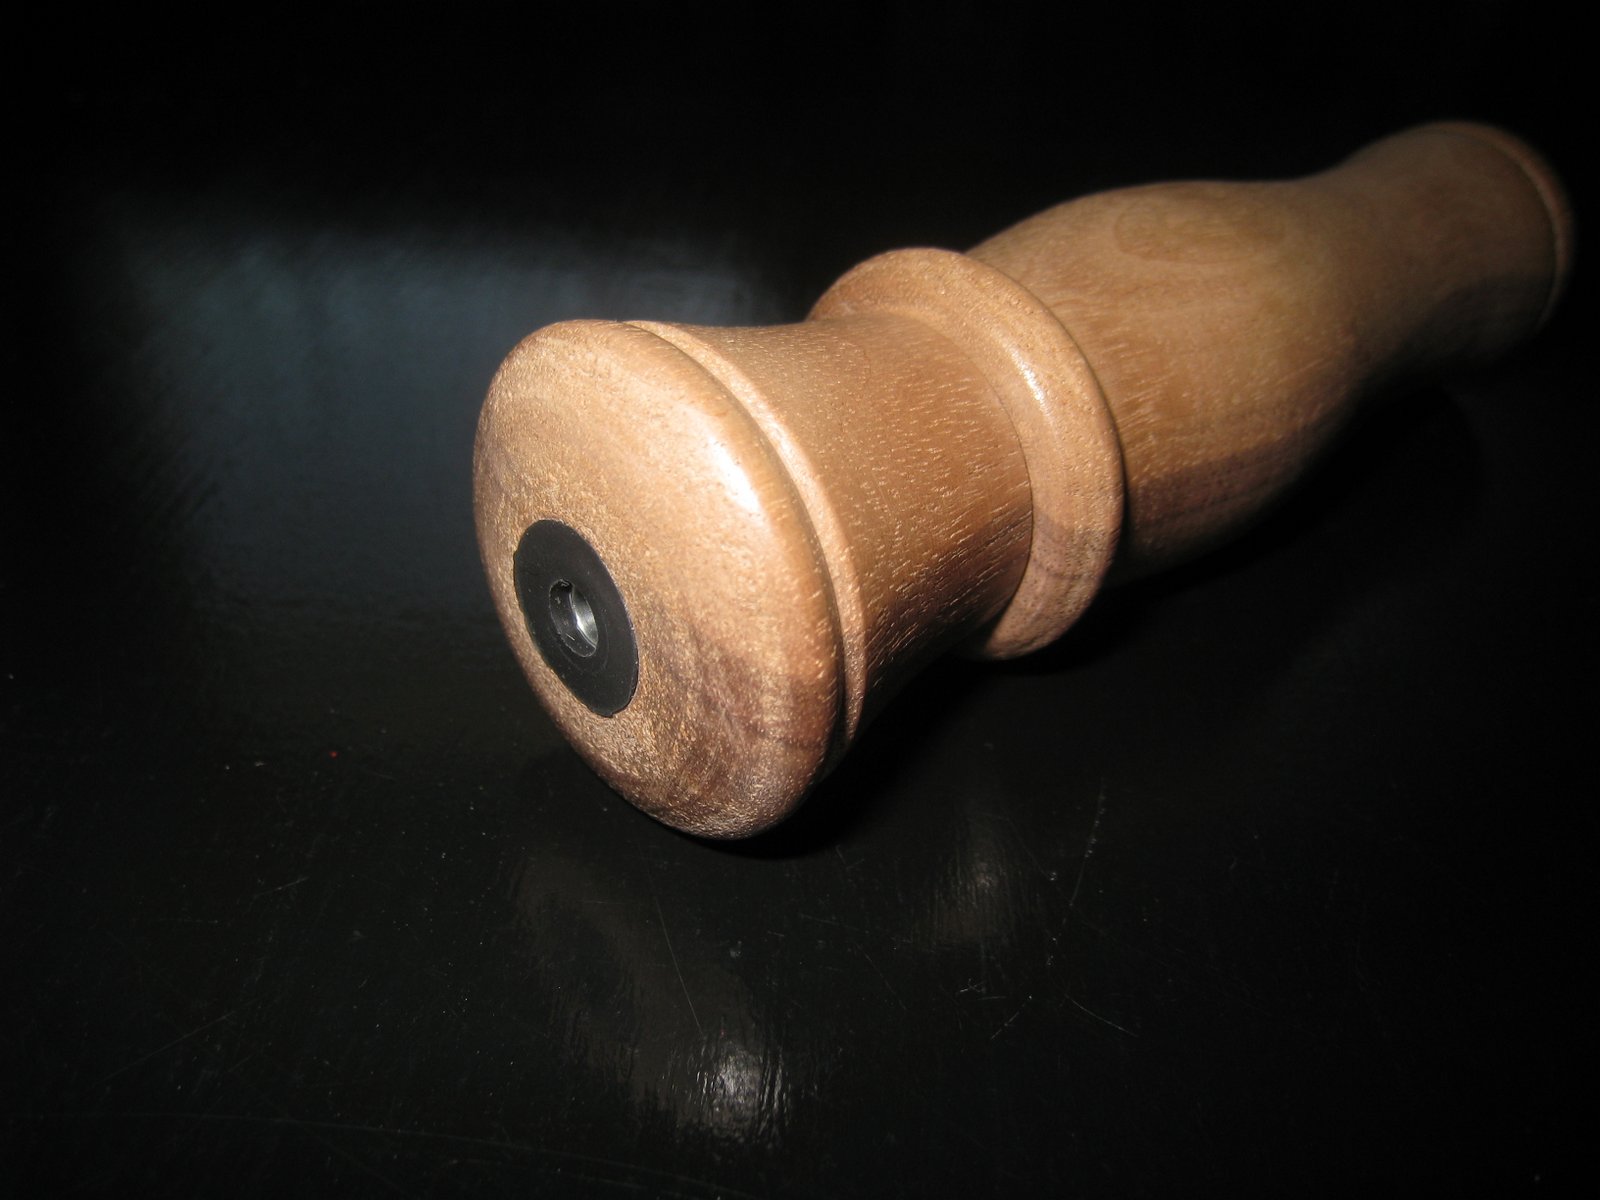
This is where the funny sound comes out of.
And this is where you blow into it. I sanded it well to avoid splinters!!
A small washer is added in a grove to create the seal for the call.
And here is a very poor demonstration of what it sounds like!
It sounds alot different than I thought it would. But apparently that is because this kit was for a Wood duck which has a squeakier, whistlier sound than the typical quacking noise.
These are the first of the projects that I was working on in February as they've arrived to their new owners now. They are a pair of cute little bird note/photo holders. I got the pattern from a recent issue of Stitch Magazine. It's actually my favourite sewing magazine. It has the right combination of fun and useful projects, with full patterns and great instructions and lots of tips and stuff. I'd recommend it highly if you're looking for something different. They come out quarterly and you can get them at bookstores or Joann's - especially good if you wait for a coupon!
I made these for my Mum who's developed a liking for little sewn birdies recently. So when I saw the pattern, I thought of making them right away.
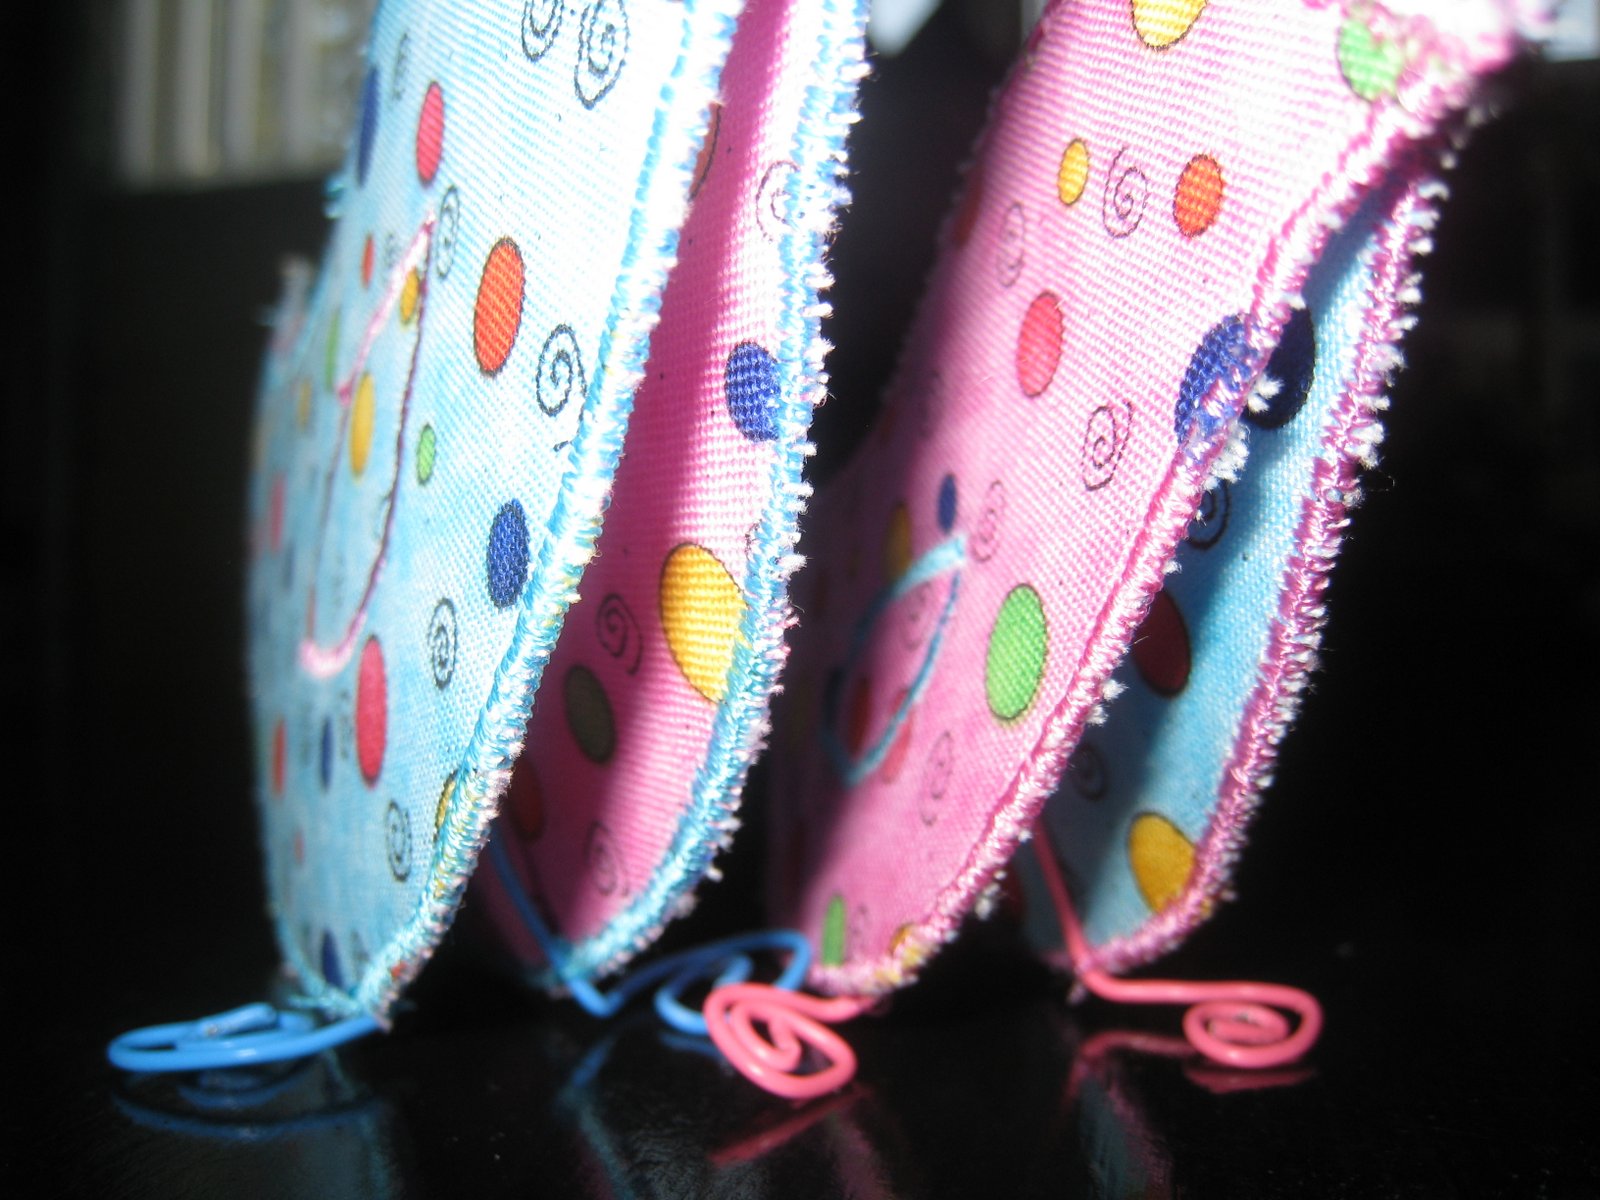
This is the small one. The feet and head swirl are made from those coated paperclips.
I had some neat fabric in two colours that I thought would make a really cute pair.
You're supposed to be able to put photos or notes in the top swirl.
Hopefully my hand stitching will stand up to the test!
There was a big and a small one, so I tried one of each.
I also lined them with the opposite fabrics to give a nice surprise if you see into them!
Well I've been rather absent in posting, but that's because I've been making stuff! I had a goal to complete 4 projects in February and I did. Several of those items are gifts and will make their debut once they've been delivered to their recipients!
At Halloween I posted the paper Jack from The Nightmare Before Christmas that I'd made, and how I'd really wanted to make him out of leather to get the textures and depth. Well since I first had that idea over a year ago, I enlisted my Mum to keep her eye out for some white leather, which I wasn't having any luck with. Low and behold for Christmas there was a nice big piece in my stocking! So I dug out my pattern and got to it!
He looks much more like I had envisioned now.
You can see the textures, and the depth of the layers coming out of the frame.
The leather stitching also looks a lot better than the string had.
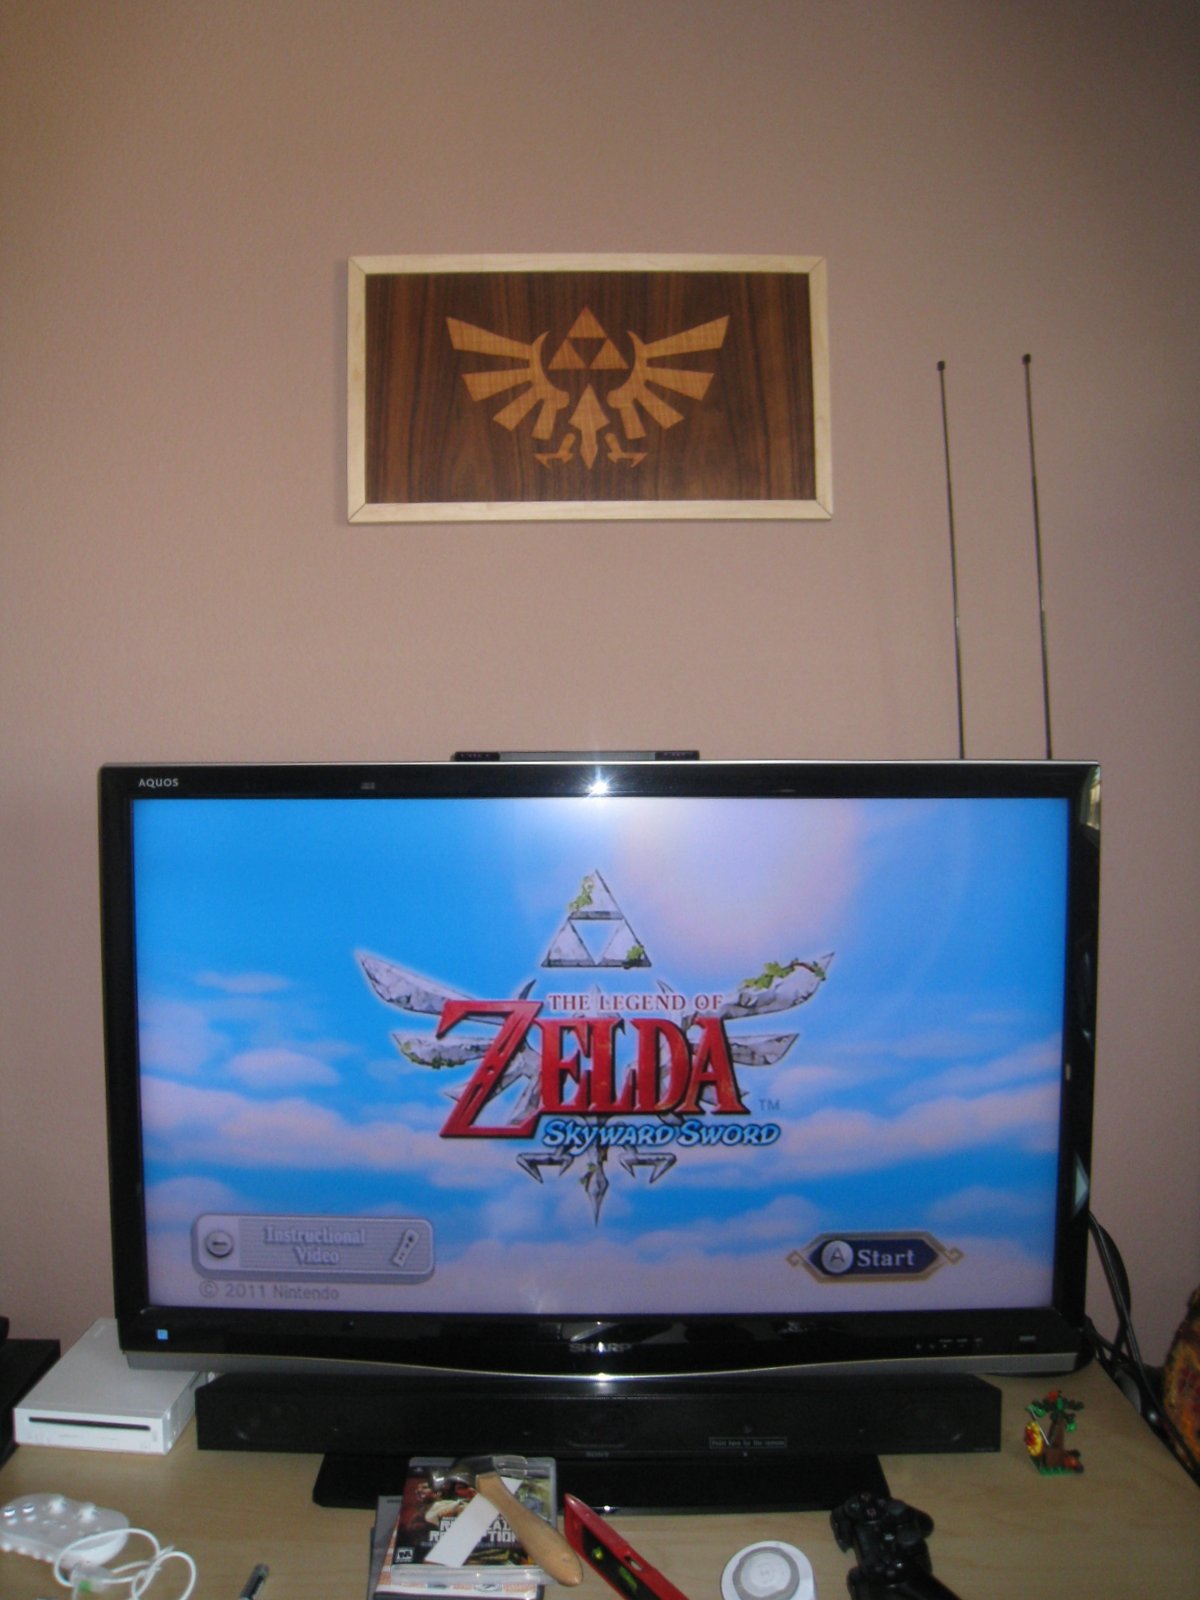
Well you may remember mid last year when I posted about a marquetry project I had done of the Zelda crest. The frame got put on the back burner a bit, but I finally got it all sorted out and finished this past weekend! Yay!
Here it is with the frame installed
I added a layer of the dark veneer in the corners of the frame for an accent.
I rabetted out the back so that the picture could sit flush with the back of the frame. This way I could use the removable hardware you see (from Lee Valley of course!), so that if I need to re-wax the picture, or decide I want to make a different frame, I can do it easily. I also drilled two holes to allow for screws to hold it to the wall.
With the final coats of wax on it, the neat grain pattern of the crest really shines out.
Finally after all the work of finishing and hanging it, I decided to relax the best way I could think of. Playing Zelda!!